
Drywall Renovation Problems to Avoid When Installing A Ceiling
Proper Ventilation Prevents Buckling and Mold
Here are some common problems you want to avoid when installing a drywall ceiling in your bath and the solutions to these unnecessary mistakes. We all know that the bathroom is a moisture-rich environment and nobody wants to go through the hassle of redoing their bathroom ceiling once it’s finished.
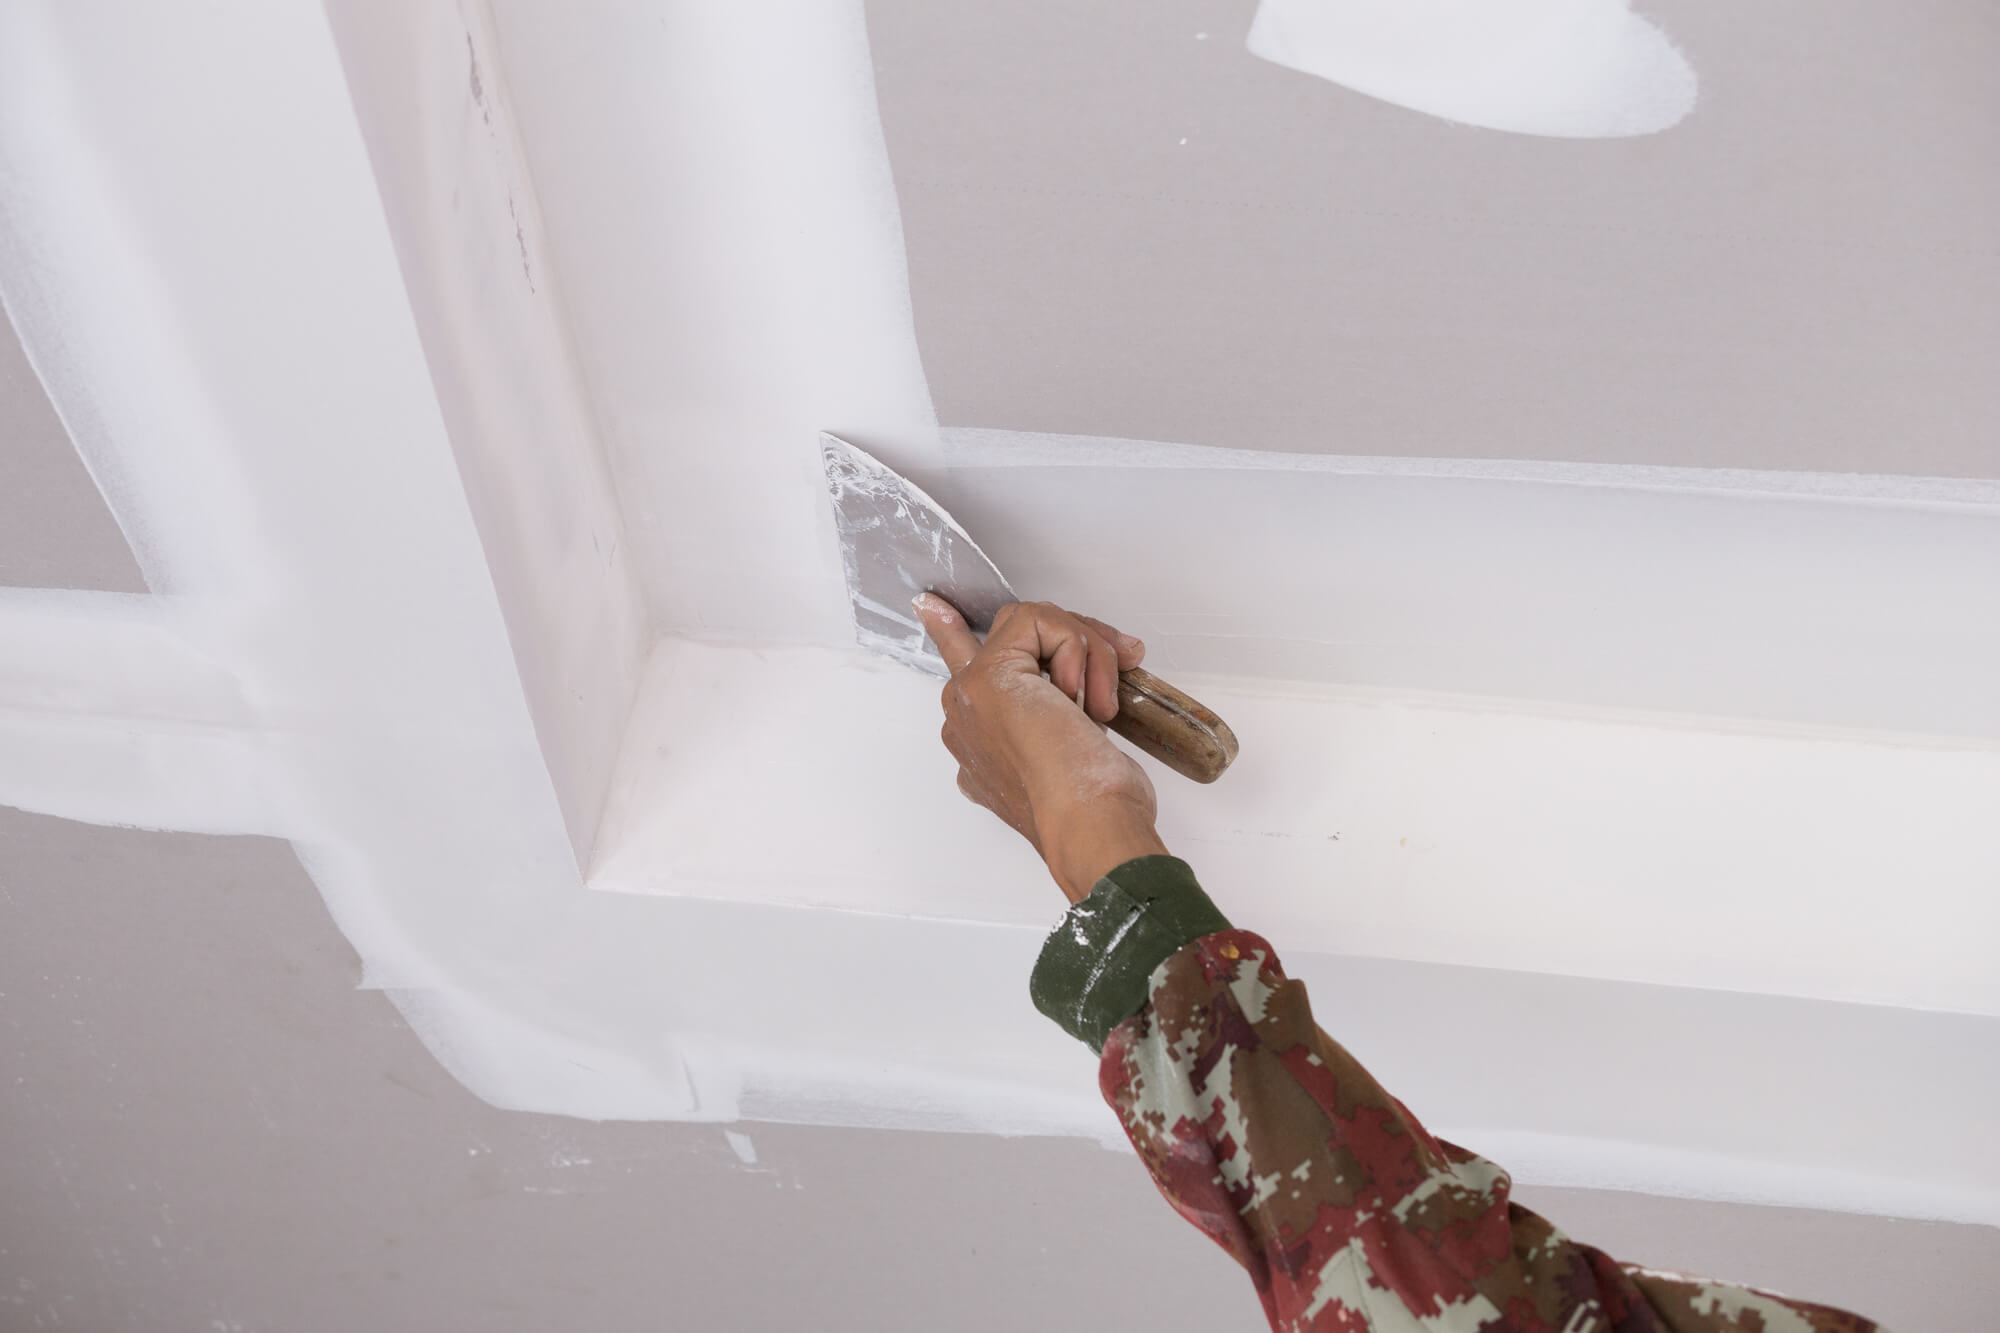
A common mistake that homeowners make when installing a drywall ceiling is they forget about proper ventilation, the drywall is not sealed properly or does not have sufficient support and the other mistake is inadequate framing at inside corners making it impossible to fasten the edge of the drywall as it should be.
A frequent predicament with your ceiling is moisture-wicking upward and contaminating your drywall. The problem is that the ceiling above the shower is absorbing water. A telltale sign is if you notice in a few places on the ceiling that the drywall paper is bubbling slightly or if there is any unusual discoloration in your ceiling.
Read more: Bath Renovating For Dollars!
This occurs when there is not enough ventilation in your bathroom. Ventilation ducts are not enough. The solution is to install an exhaust fan (or a combo light and exhaust fan) to remove the humidity from the air.
Get a fan or a light/exhaust fan unit that is sealed, this will do away with vapor getting into the light workings and contaminating the drywall around the light hole. Just remember that you are required to keep the insulation back approximately 18 inches square from around the light/exhaust fan fixture.
Seal Your Overhead Surfaces With Primer
Keep in mind to use a water proof compound and also fiber tape for the bedding work. Another option to consider is a ceiling heater. While not as effective as an exhaust fan for removing moisture from the air, these can be nice for when you step out of your shower and want the comfort of a warm bathroom on a cold day.
Read more: How to prevent mold in bathroom with and without fan
Another common mistake first-time bathroom renovators make is improperly sealing their drywall bathroom ceiling. This can be avoided altogether by simply applying a layer of a good primer such as Zinsser 123 before spraying on any texture.
If on the other hand the damage has already been done and you want a fresh surface, you can use either 1/4″ or 3/8″ standard drywall over the existing drywall ceiling, and then apply a good primer. Prime it, then use a good quality bath latex paint to seal it all in.
Read more: How to Remove an Old Vanity in Your Washroom
When renovating your bathroom, it is very important that your ceiling drywall is properly supported; this can be achieved by adding more than enough screws and making sure they hit the rafters and be sure they are long enough to go through two layers of rock and at least half an inch into the rafters or more.
And leave enough framing at inside corners so that you can fasten the edges of the drywall securely to the ceiling rafters. A good rule of thumb is to make sure there’s at least one inch of exposed framing at corners. Don’t forget to mark the location of framing members before you cover them with drywall or else you’ll have a hard time placing the screws accurately.
Read more: A New Ventilation System Can Make Your Bathroom More Comfortable and Attractive