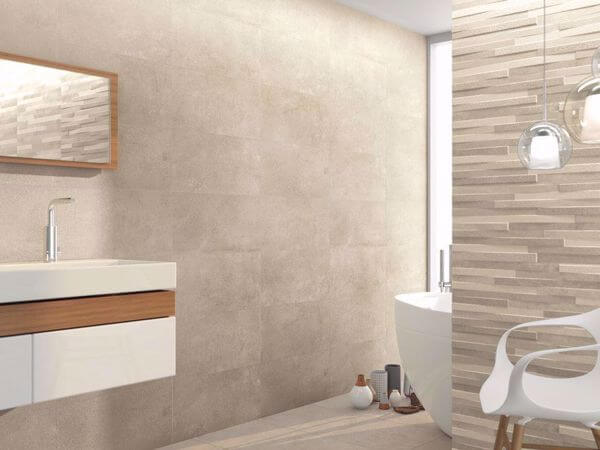
Glass Tiles in Your Bathroom

Glass tiles are an excellent choice for bathroom walls and backsplashes. What most people don’t realize is that glass tiles have been around since ancient times. The great thing about glass tiles in your bathroom is they are practically impervious to discoloration and damage from everyday bathroom cleaning chemicals.

Though glass tiles are resistant to water and stains, they are, however, more vulnerable to chipping and cracks than various other types of bathroom tiles. And because most glass tiles are translucent or semi-transparent, preparation of the surface is very important because any underlying damage can be readily seen. Another important consideration is the surface that the glass tiles will be on. If the underlying surface is susceptible to settling, then an anti-fracture membrane must be installed to create a stable base.

Summary: Glass tiles in your bathroom are both translucent and resistant to water and stains. Though glass tiles are more susceptible to cracking and chipping than ceramic tiles, using an anti-fracture membrane can create a stable base. A popular glass tile is the fused glass tile where reflected diffused color creates the illusion of added depth to the tile as the light is reflected back into the bathroom.”

Read more: How to Drill Ceramic Tile

And glass tiles don’t have to be boring either, from fused translucent glass tile to etched glass in blue pearl, many interesting and creative effects can be created with glass tiles to blend in or enhance your bathroom decor. Glass’ potential to impart intense color and reflect light are properties that set it apart from ceramic tile or metal tiles.

And if you want to be creative, modern ornamental glass tile designers have created incredible glass mosaics using tiny pieces of glass tiles. You can even purchase premade designs on a mesh backing that lets you install dozens of mosaic tiles at one time to finish a whole wall mosaic in a single day. Another benefit of using glass tiles is that it is a renewable material that is easily recycled, so if you are concerned about creating a green bathroom, glass tiles are a step in the right direction.

Read more: How to Use a Ceramic Tile Saw

Glass tiles are cool and elegant. A popular glass tile is the fused glass tile. With this method, color is fused to the back of the tile and is visible through the clear glass at the top of the tile. The result of this procedure is a sense of reflected diffused color that creates the illusion of added depth to the tile as the light is reflected back into the room.

Choosing which type of bathroom tile to put on your bathroom walls can be decided by balancing form with function and the end result you want to create. Time and care maintenance issues should also be considered when trying to decide what type of floor or wall finishes you should use in your bathroom.

Remember, larger tiles have fewer grout lines to provide slip resistance and if the tile is damaged it will be a larger surface to repair. The other benefit of installing glass tiles in your bathroom is that they are water-resistant and any superficial scratches or water spots can be buffed out for that original shine in no time.

Read more: Do-It-Yourself Corner Ceramic Shower Seat Installation

It should go without saying that glass tiles are better suited for walls than floors due to the nature of the material. While some glass tiles are floor rated, knowing where to place glass tiles in your bathroom will not only enhance the safety of your bathroom but also take care of your durability and maintenance requirements.

Unfortunately, most glass tiles are not designed to bear the weight of fixtures, furniture, and regular foot traffic and are extremely slippery when wet. But once the glass wall tiles are filled with grout and polished, it has a smooth, shiny translucent surface that is beautiful to behold. And unlike such naturally occurring materials like stone tiles that are porous and have to be periodically sealed and maintained carefully in your bathroom, glass tiles are practically maintenance-free except for the occasional wipe down.

The only real concern is to make sure you inspect the grout periodically and replace any cracked or damaged grout immediately in order to maintain your bathroom wall’s water-resistance and integrity.

Read more: Back to Basics – Bathroom Vanity Countertop Materials Simplified

Whereas in the last century, glass tiles were used more as an accent tile, recently surface finishing materials such as glass tiles are increasingly becoming popular for field tiles in bathroom design as homeowners are looking for new and exciting ways to beautify their bathrooms. Glass can add interest and make a space seem larger due to its reflective nature. Frosted glass tiles can more readily hide scratches and blemishes on bathroom countertops and backsplashes.

The true measure of whether glass tiles are what you need in your bathroom is whether or not you want a material that is resistant to water, easy to clean, and simple to maintain. Glass tiles are somewhat glamorous, are shiny, practical, and will still look fresh many years down the road. It is important to match the wall finish to the way your bathroom will be used. And with so many different types of glass tile finishes available, you are sure to find the right type of glass tile that is right for your bathroom.

Read more: Practical Storage Solutions – Planning Your Vanity Storage Area

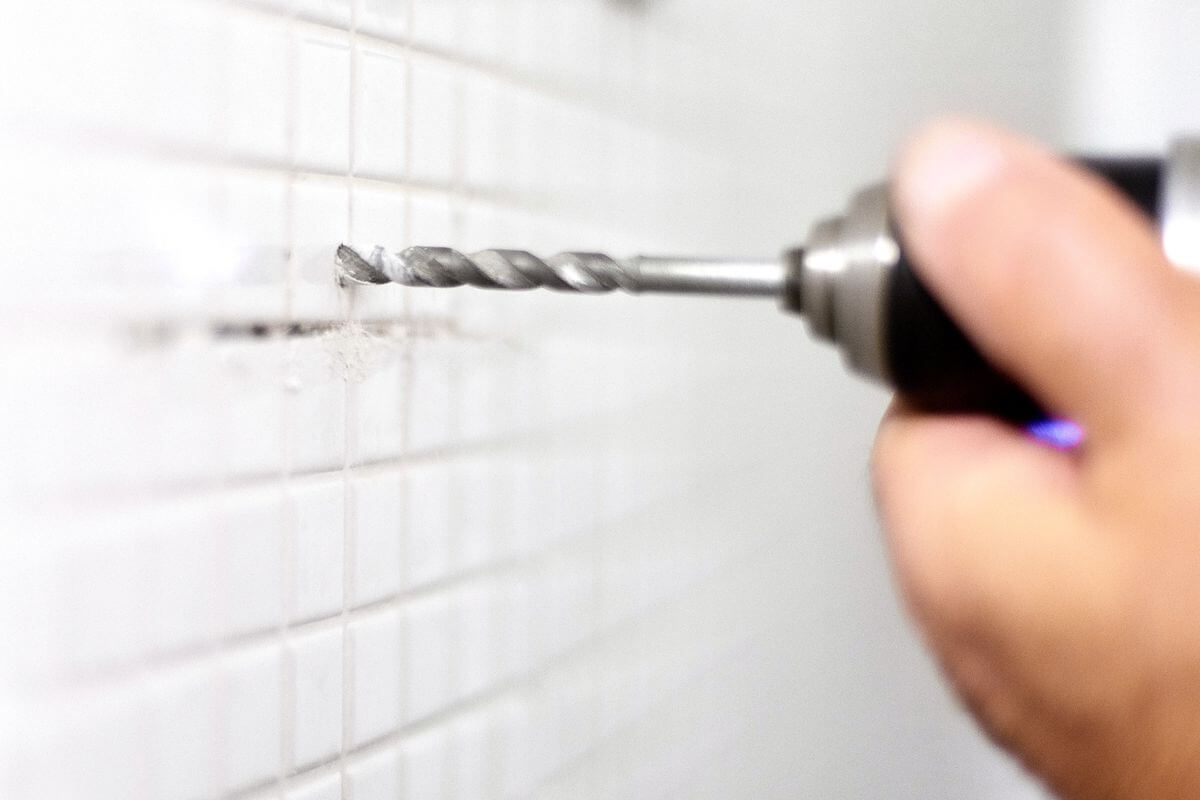
How to Drill Ceramic Tiles

Bathroom accents can add a lot of personality to any bathroom theme; however, if you have never used a drill to drill ceramic tile then you will end up with scratched surfaces, broken tiles and mounted frustration. This does not mean that inexperienced DIYers cannot drill ceramic tile to install a toilet paper holder, towel holders, racks or any other item for that matter.

With the right equipment, patience, and a steady hand it is possible to drill ceramic tile to add a special touch to your bathroom based on your preferences and decoration tastes. In this article, we will explore all the steps that you need to follow to drill ceramic tile and the tools that are used to make the job easy and enjoyable.

Summary: Drilling ceramic tile can be made a lot easier by using the right tools. Knowing how to correctly drill ceramic tile will minimize damage to your tile walls or floors. Using the right drill bit and knowing when to change the drill bit will also aid you when you drill ceramic tile in your bathroom.”

Read more: Convert an Antique Piece of Furniture into a Bathroom Vanity Masterpiece

Step #1- Get the Right Tools to Drill Ceramic Tile

Ceramic tiles are manmade products and their glossy surface makes perforation a challenge. The art of knowing how to drill into a tile without breaking it resides in getting the right type of drill and drill bits, establishing a correct application point, and applying the right type of force. This basic rule can be applied to any type of ceramic tile–from resistant porcelain tiles to softer versions of ceramic tiles.

The best type of drill to use to drill ceramic tile is a power drill that has different speed levels to make the whole task easier. Speed is very important when it comes to drilling a ceramic tile and while many people may assume that faster means better, the technique that is needed to bore through a ceramic tile has proven otherwise.

Carbide-tipped masonry drill bits and diamond-tipped drill bits are the best options to drill ceramic tile. The latter is usually used on porcelain tiles due to the high degree of silica that is present in these types and which offers great perforation resistance. You will also need cutting oil to cool the bit when you drill ceramic tile.

Read more: Practical Storage Solutions

Step # 2- Mark Your Spot to Drill Ceramic Tile

Drilling circular holes in a ceramic tile require some degree friction. This can be easily achieved by using masking tape over the area that you intend to bore through and using a marker to mark it. The masking tape will create friction between the tile and the drill bit and reduce slipping during drilling. Simply make an “X” or an eight-point star over the area with the masking tape before you begin to drill.

Step # 3- Start Drilling

Once you have marked the area that you intend to drill on the ceramic tile then apply a little pressure and but the drill on a low speed to start drilling. After some time drilling into the ceramic tile, you will notice that a tiny hole has been formed. At this point you have created a weak point in the tile and drilling through will be a lot easier than in the beginning. When the hole has been formed then you can apply some more pressure and increase the drill speed to bore through the ceramic tile. However, you should not apply too much pressure to drill the ceramic tile, because this may break the tile even after using the weak point as a guide.

Read more: Back to Basics – Bathroom Vanity Countertop Materials Simplified

Step # 4- Change your drill bit

At some point in time you will realize that you have perforated the tile. At this point you will need to change the drill bit that was used to drill ceramic tile with another drill bit that is specially tailored for the surface that you are now drilling. You will know that you are completely through when there is less resistance being applied to drill ceramic tile. Of course, some resistance will be created on the wall surface that the ceramic tile is located, but by having an idea about the thickness of the ceramic tile it will be easy to know at which point you can stop.

You should also take care to use a drill bit with a smaller diameter so as not to widen the hole that you have already created in the ceramic tile.

Extra Tip- How to drill large holes in ceramic tiles

The drill bit that you use may not be able to drill a large hole in the ceramic tile that you choose. You can easily master this challenge by doing one of the following:

1. Buy a diamond tip hole saw to drill ceramic tile, or;

2. Mark the desired circular perimeter that you want to drill through and drill along the line with a carbide-tip bit. After this you can use a flat-point screwdriver to break along the circular perimeter until the inner parts falls off leaving behind the desired hole.

Drilling ceramic tile is straight forward once you know how. With a little practice and a little patience drilling your ceramic tile to put up bathroom accents or to access plumbing or wiring will be a breeze. Using a ceramic tile cutter or other ceramic tile cutting tools can be easily mastered with these tutorials.

Read more: Do-It-Yourself Corner Ceramic Shower Seat Installation

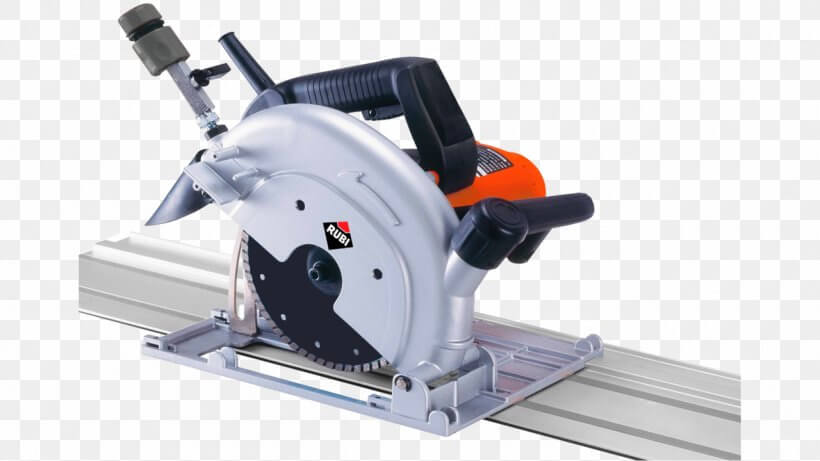
How to Use a Ceramic Tile Saw

Hundreds of homeowners have tapped into the ease of renovating their bathrooms by using the right type of ceramic tile saw to give them the professional finish that they need when cutting ceramic tile. The proper technique for cutting tile with a ceramic tile saw can be easily mastered with a few practice cuts.

If you find that you have a bathroom tiling project in mind, but have no clue about the type of ceramic tile saw that you should use or whether you should use a dry saw or a wet tile saw when installing ceramic tile in your bathroom, then read on to find the tiling information that you seek. The right tools and equipment for cutting bathroom tile will not only give you professional results but will also help to take your tiling project from paper to reality.

Summary: Ceramic tile saw usage gives you professional results when installing tile in your bathroom. Using a wet ceramic tile saw equipped with a diamond cutting blade gives you a more precise cut than a regular dry saw. Which ceramic tile saw you should purchase but depends upon the scale of your bathroom tiling project.”

Read more: Convert an Antique Piece of Furniture into a Bathroom Vanity Masterpiece

A ceramic tile saw is a cutting tool that is used to cut a wide range of materials such as tiles, granite, and marble. These materials are quite resistant to impact and applied cutting force and for this reason, a ceramic tile saw blades is specially crafted with diamonds to cut away at very hard materials while maintaining a straight professional cut in the process. There are in essence two types of ceramic tile saws: a wet tile saw and a dry tile saw. The former is basically what the name suggests: there is no use of any lubricating fluid during the cutting process. A wet ceramic tile saw on the other hand has to have a constant water source during the cutting process to cool the diamond blade to make them last longer. The saw that you eventually choose will depend on the project in question and the results that you expect to achieve.

A dry ceramic tile saw is handheld and as such it does not guarantee as much precision as a wet ceramic tile saw when it comes to different types of tile cutters. In addition to this is it not recommended for large projects despite being easy to use. Its contender, however, comes with a cutting table and is often used on large projects given the speed and precision it guarantees during the tile cutting process. When it comes to installing ceramic tile, both are easy to use and will not pose a problem in getting started.

Read more: Practical Storage Solutions

A dry ceramic tile saw works by applying the necessary force to cut into the ceramic tile. Hard materials as the ones mentioned earlier will pose a problem because this simply means that more force will have to be applied to get the desired cut. In addition to this the more force that is applied, the harder it becomes to maintain straight cuts with a dry ceramic tile saw as opposed to a wet ceramic tile saw.

The wet ceramic tile saw on the other hand has a cutting table and a frame that keeps the tile in place while cutting. All that has to be done is to push the tile in the direction of the tile cutting blade based on the project measurement that you have in mind. The cutting process is known to cause a lot of dust, therefore wearing protective goggles and a dust mask can help to reduce the impact that this causes to your exposed eyes, nostrils, and face. Having the right safety tools when renovating your bathroom will prevent any unnecessary mishaps from occurring.

The bigger question, however, is–which type of ceramic tile saw do I really need? As mentioned earlier the wet ceramic tile is perfect for large projects. In addition to this if you need to make ceramic cuts with unusual shapes (U shapes, L shapes etc.), then this is the perfect equipment to have.

Read more: Back to Basics – Bathroom Vanity Countertop Materials Simplified

The dry ceramic tile saw requires a lot more effort to get the end results and many times you may have to perfect the edges after the cutting process. Cutting tile with a ceramic tile saw requires some degree of practice regardless of the type that is being used. As such, homeowners are encouraged to take the time to practice cutting using a ceramic tile saw on a few extra tiles before they dive into their bathroom renovation project.

The wet ceramic tile saw functions with water so it will always need water when working. This can create a messy working environment and as such covering the floor with and old cloth of newspaper can reduce the headache of having to clean up tile dust mingled with water.

Another issue to take into consideration is price tag that comes with both ceramic tile saws and the durability; dry ceramic tiles may come cheaper but they do not last as long as wet ceramic tile cutters due to the absence of water that is needed to cool the cutting rims.

Read more: Do-It-Yourself Corner Ceramic Shower Seat Installation

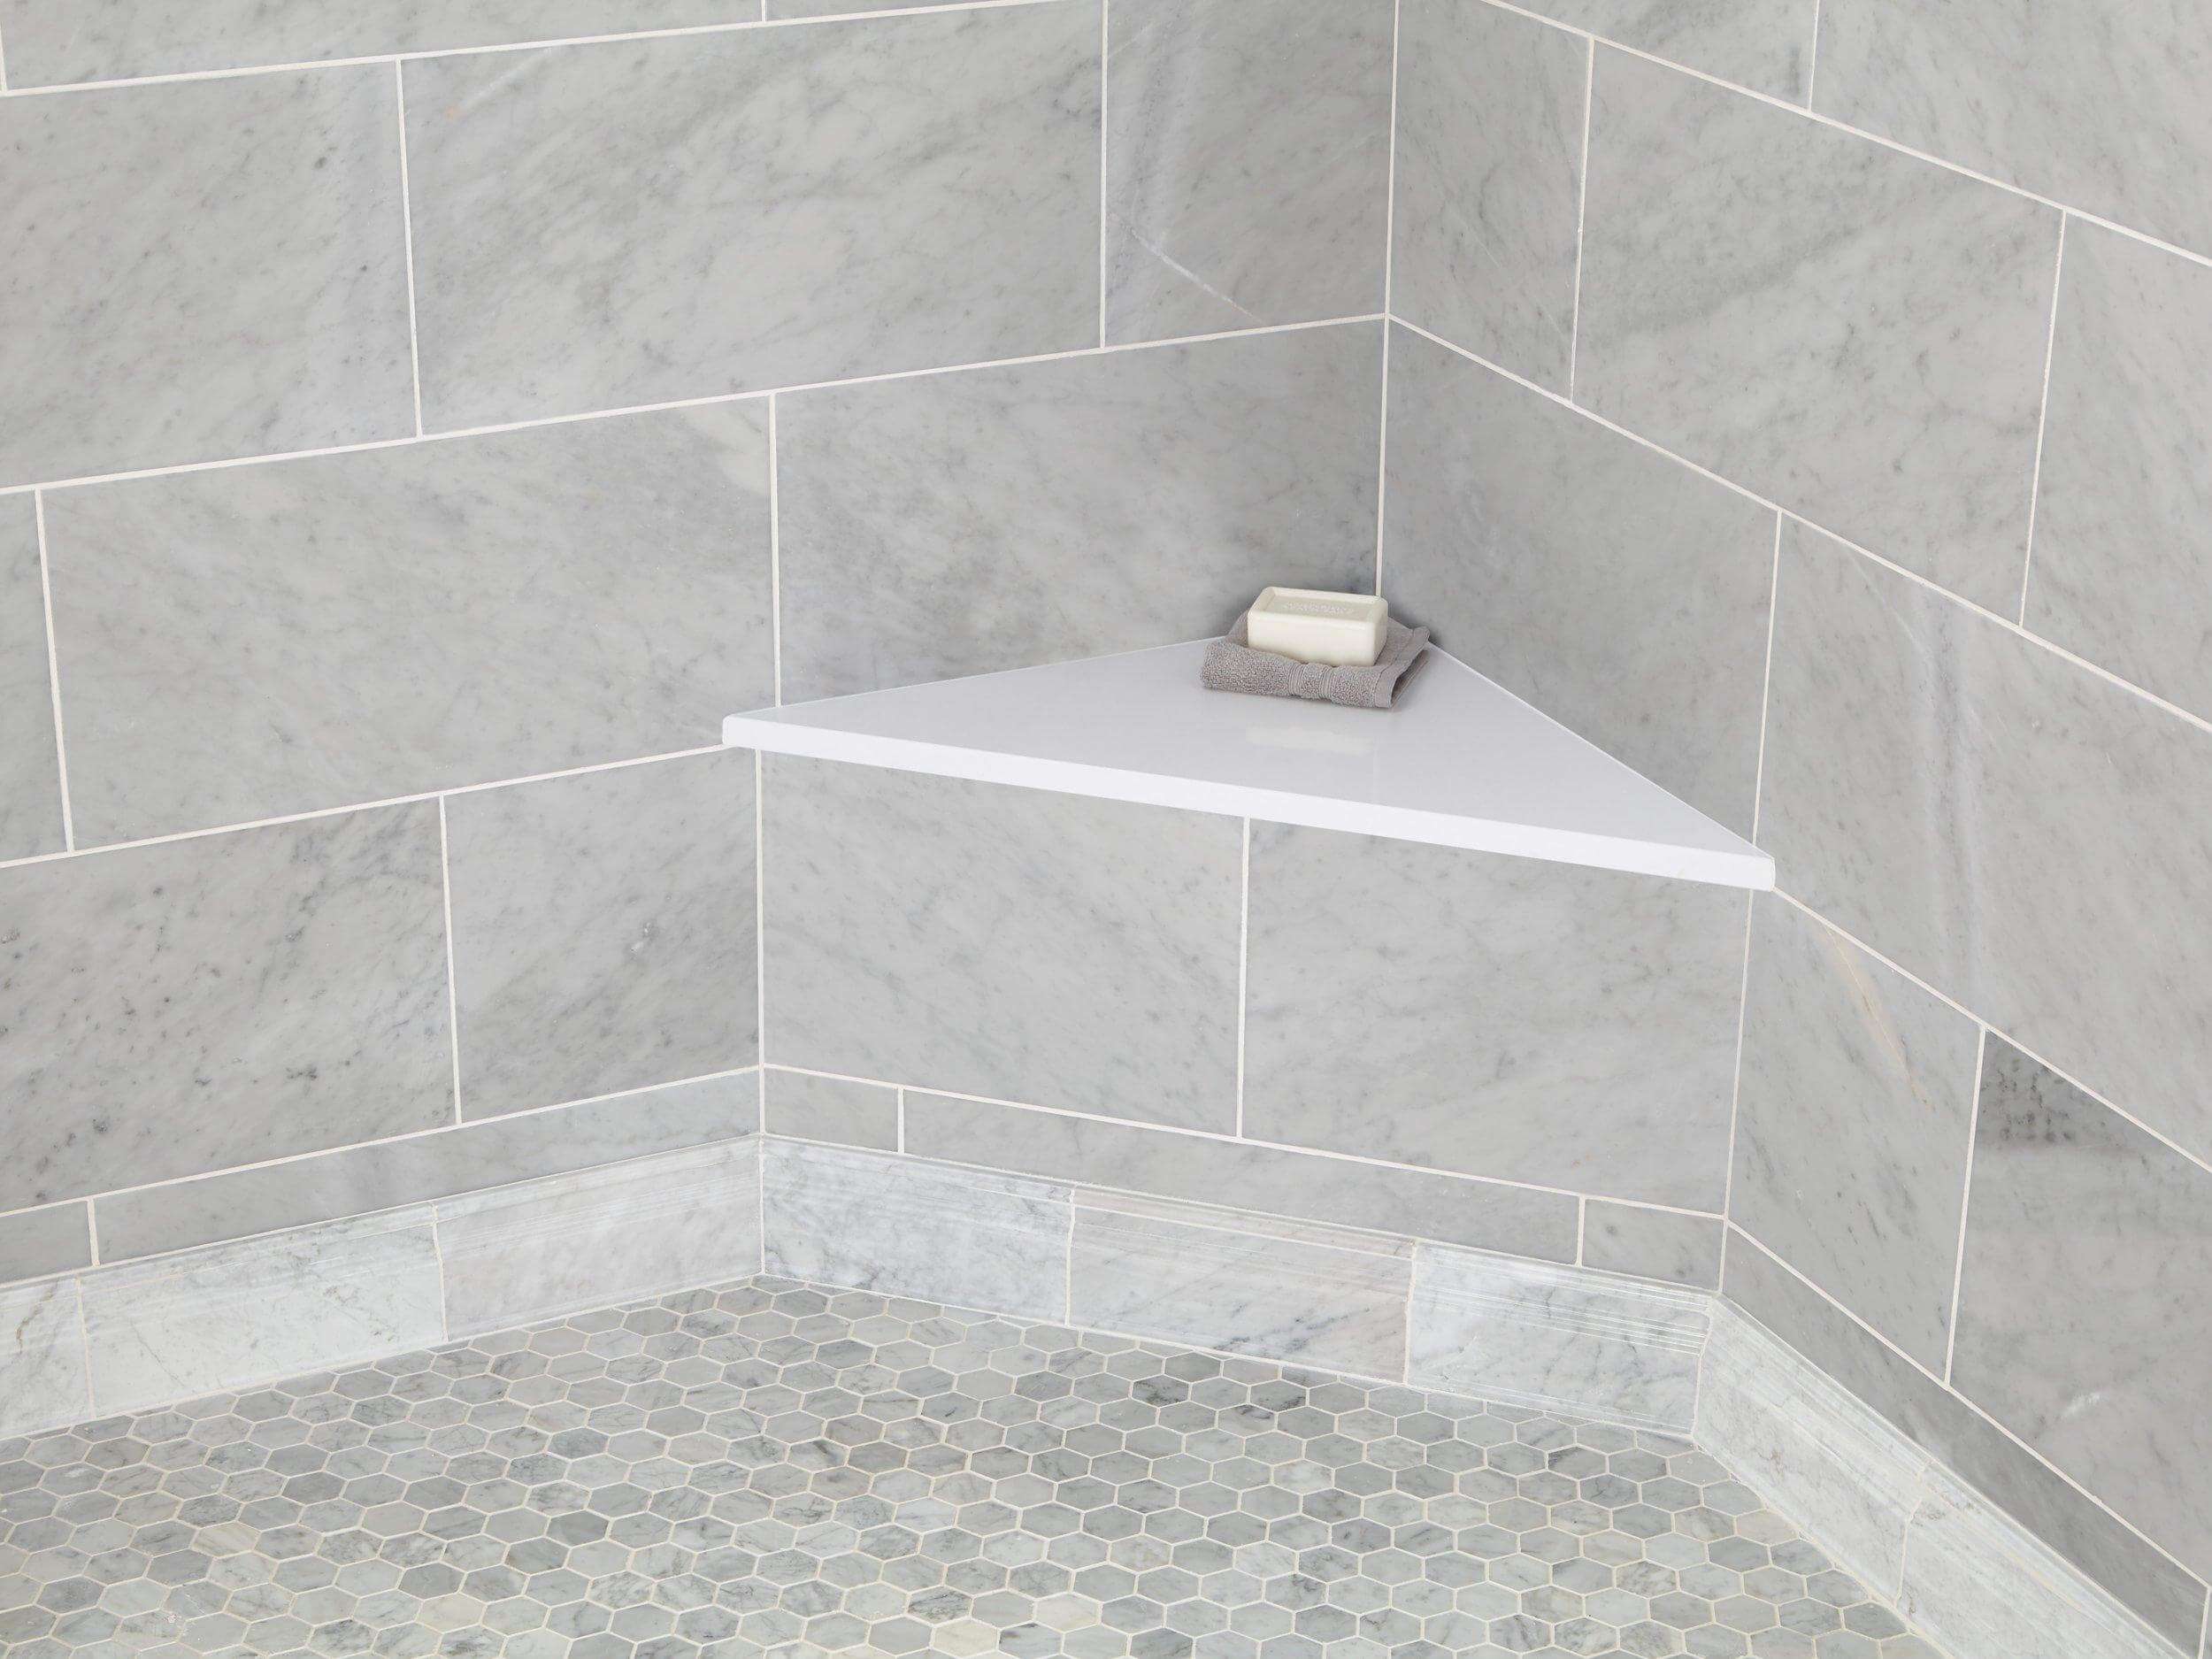
Do-It-Yourself Corner Ceramic Shower Seat Installation

Walk-in showers are great because you can, well simply walk in and take a shower but it would also be nice if you could sit down while enjoying a good soak. Installing a corner ceramic shower seat in your bathroom is not only a great convenience, but it is also an attractive installation where you can sit while you enjoy a refreshing steam bath or it can be used as an easy to reach storage ledge for your bathroom accessories.

There are many portable plastic shower seats you can buy but if you are wanting a more permanent solution that blends into your current shower wall tile, then a custom-installed shower seat is the way to go and can be bought at any specialty tile shop.

Currently, with your shower seat kits, you have the option of installing the seat before you install any ceramic tile or you can purchase a kit that you install over your existing tile. As in the latter case, the wall tile should sit on top of your seat just as it would sit on the top edge of a bathtub. These kits are great because you don’t have to install a PVC waterproofing membrane within the wall framing. You don’t have to build your own frame, rip out any tile or unnecessarily tear open your shower wall.

Read more: Are Lavatory Washbasins all Washed up?

A corner shower seat kits usually includes a triangular aluminum pan that you fastened directly to your existing tile wall. This pan is then filled with mortar and covered with matching ceramic tile. Just remember to lay the top-surface tiles first, then the seat edge tiles next. You also want a slight pitch in the seat towards the center of the shower as this allows water to drain effortlessly off the seat.

While you can install a seat in a 42 inch long shower, a slightly bigger enclosure would give you a little more leg room. First determine where you want your shower seat to be. A seat height of about 16 to 20 inches above the shower floor provides the greatest comfort and versatility. The only prerequisite is to make it attractive and waterproof.

Bathroom Tile Renovation Techniques – How to Install a Corner Ceramic Shower Seat

In part one entitled: Do-It-Yourself Corner Ceramic Shower Seat Installation, we talked about the pros of installing a more permanent solution in your shower enclosure. Now we will discuss the materials and procedures for installing your brand new ceramic shower seat. You have already decided where you want it to go now let’s get on with what you will need to get the job done and the skill set you will need.

The materials you will need are:

  • 1) a shower seat kit
  • 2) soft cloth and sponge
  • 3) tiles and masonry mortar mix
  • 4) grout and silicone caulk
  • 5) latex mastic or thin-set mortar

Read more: Inexpensive Tile Design Through Faux Tile Effects

The tools you will need, you can acquire at any local home improvement or hardware store. Some you may even have kicking around your home already. You will need masking tape, a felt tip marker, screwdriver and a drill. Some additional items you may have to purchase are: 3/8 inch diameter carbide-tip masonry drill bit, tile cutter, mortar trowel, rubber float and a trowel with 1/8 inch notches.

To begin, hold the metal pan in place on top of a strip of masking tape and mark off the screw holes on the tape with your felt tip pen. (Tip: the tape keeps the drill from slipping on the slick tile while you drill). Drill through the marks using a 3/8 in diameter carbide-tip masonry bit then remove the tape. Next insert the hollow-wall screw anchors that came with the seat kit halfway into the holes in the tile. The way it works is as you tighten the screws, the anchors slowly open, attaching the seat firmly to the tile wall. This is important: to create a waterproof seal, dab silicone caulk generously around each anchor head to keep out any moisture then push the anchors all the way in to complete the seal.

Next we attach the metal pan. So, as you are holding the metal pan in position on the wall, put the screws through the holes in the metal pan and into the wall anchors at which point you need to tighten the screws in the wall anchors to firmly secure the seat pan to your tile wall. And to seal the deal so to speak, apply a thin deposit of silicone caulk along the top frame of the aluminum bench.

Read more: Convert an Antique Piece of Furniture into a Bathroom Vanity Masterpiece

Now comes the slightly messy but fun part, mixing the masonry mortar by following the supplier’s directions. Then using a trowel, pack the mortar compactly into the triangular frame until it pushes its way out the holes on the face of the seat frame then smooth it all down. Once this is done, apply a slightly wetter thin layer of mortar onto the front edge. Now the mortar must cure for at least twenty-four hours before we can proceed any further.

You can be creative with this part or you can go the conventional route. Cover the top face of your bench with a tile color that matches the rest of your shower walls or you can gent more creative and use solid-surface materials or even a slab of stone. It’s usually best to either have the top or the front surface of your bench match your tiles to create unity in the design. Ok lets get on with it, dry lay (without mortar) a full tile in the center of the bench and allow it to hang over the front facing edge by about ¼ of an inch then proceed to lay the remaining tiles, continuing out in all directions to the back and corners. Using your tile cutter, trim the tiles that go against the walls then reposition (dry lay) them to around the full tiles to make sure everything fits nicely.

Once this is confirmed, displace all the tiles temporarily and spread thin-set mortar or premixed latex mastic on the top and front of your shower bench using a 1/8 inch notched trowel. First lay in the top tiles first and then finish with the edge tiles making sure to press firmly and let it dry overnight. When dried the next day, squeeze grout into the joints using a rubber float. It is very important that you press firmly forcing the grout into every crevice to seal out any moisture.

Let this set for about a half an hour then using a damp (not soaking wet) sponge, wipe off any excess grout on the tile surface. When the grout is dry, buff the surface of the tile with a shammy or soft cotton cloth and allow the grout to set for another twenty-four hours. Almost there! As a final waterproof insurance measure, bead a thin line of silicone caulk around the border of your new ceramic tile shower seat. Just let the caulk dry for another six to eight hours and you are ready to enjoy your new shower seat.

Read more: Practical Storage Solutions

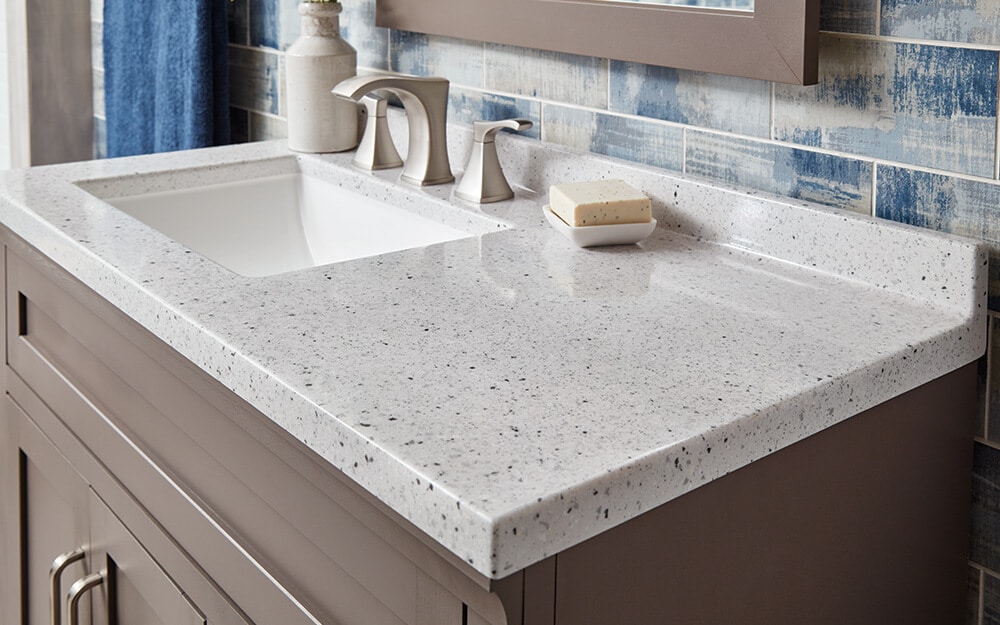
Back to Basics – Bathroom Vanity Countertop Materials Simplified

Vanities are regularly sold as a package with a countertop. You can buy a prefabricated one or you can get one custom made. The styles range from contemporary furniture to period-specific chic. While most bathroom vanity countertops do not overhang the vanity, it is not unheard of to have countertops that extend out to form window sills or even to connect two adjoining vanities to increase useful counter space.

The standard width for a vanity is about eighteen to twenty-one inches and incrementally increases to about seventy-two inches in units of about six inches. The typical height is approximately twenty-nine to thirty inches but then again this can be adjusted to accommodate taller users by shimming the base.

Read more: Are Lavatory Washbasins all Washed up?

Ceramic tile used to be the traditional favorite for bathroom countertops because just about anyone could install them and it was quite easy to get a unique individualized look, not to mention if a tile cracked or broke you could simply replace it without having to redo the whole countertop. But due to the mildew buildup in the grout and the overpowering and sometimes distracting patterns, they have been left behind for more modern solid surface materials.

Custom bathroom countertops made of natural stones such as granite and marble are two favorite countertop materials of bathroom renovators. These surfaces are excellent for hygiene, durability and are especially ideal for wet bathroom environments though they can sometimes suffer from hairline cracks. Luxury and relaxation are all words used when thinking of granite in the bathroom because it brings to mind ancient Roman bathing houses with rising Corinthian pillars of stone.

Read more: Inexpensive Tile Design Through Faux Tile Effects

Corian is a somewhat expensive material for countertops and is made of a blend of natural materials and pure acrylic polymer. It comes in a matte or shiny smooth surface. It is nonporous and resistant to mold, mildew, and fairs well against moisture and stains. Corian bathroom countertops are easy to clean and maintain and are hypoallergenic. Its only caveat is that like plastic laminates; it is susceptible to heat damage by hair curlers and other heat-generating appliances.

Plastic laminates that are water resistant are another favorite for DIYers. These can be rather decorative but have become quite popular for bathroom countertops and come in a variety of different finishes and surface patterns ranging from low luster to metallic and high gloss. The cons of using plastic laminates are they are susceptible to heat and scratching, also water seeping in the seams and under sink edges may cause the laminate to come apart by damaging the substrate.

Read more: Convert an Antique Piece of Furniture into a Bathroom Vanity Masterpiece

Wooden countertops, though somewhat uncommon has made its way back into the upper high-end bathrooms. For those that can afford it and who want what others do not have, wood is chic. Certain species such as redwood and teak must be properly treated and sealed to stand up to normal everyday bathroom use and are not recommended for high traffic areas and require regular upkeep to ward off water spots or damage.

Other important but sometimes neglected areas of the countertop are the trim and the back splash. The side and front edges should match the countertop but you don’t have to if you want to create contrast. You could also eliminate the back splash for a more spacious feel to your countertop. Just remember that by doing so you will have to clean the mirror more frequently and the mirror may be more susceptible to breakage.

Countertops provide additional workspace in the bathroom to carry out your everyday activities. Just remember to decide on your sink and faucet style before finalizing your bathroom countertop because this will affect some of your trim details. It is the little details that make your bathroom more than just a place to wash your hands but a relaxing joyful experience that you will enjoy doing time and time again.

Read more: Practical Storage Solutions

Practical Storage Solutions – Planning Your Vanity Storage Area

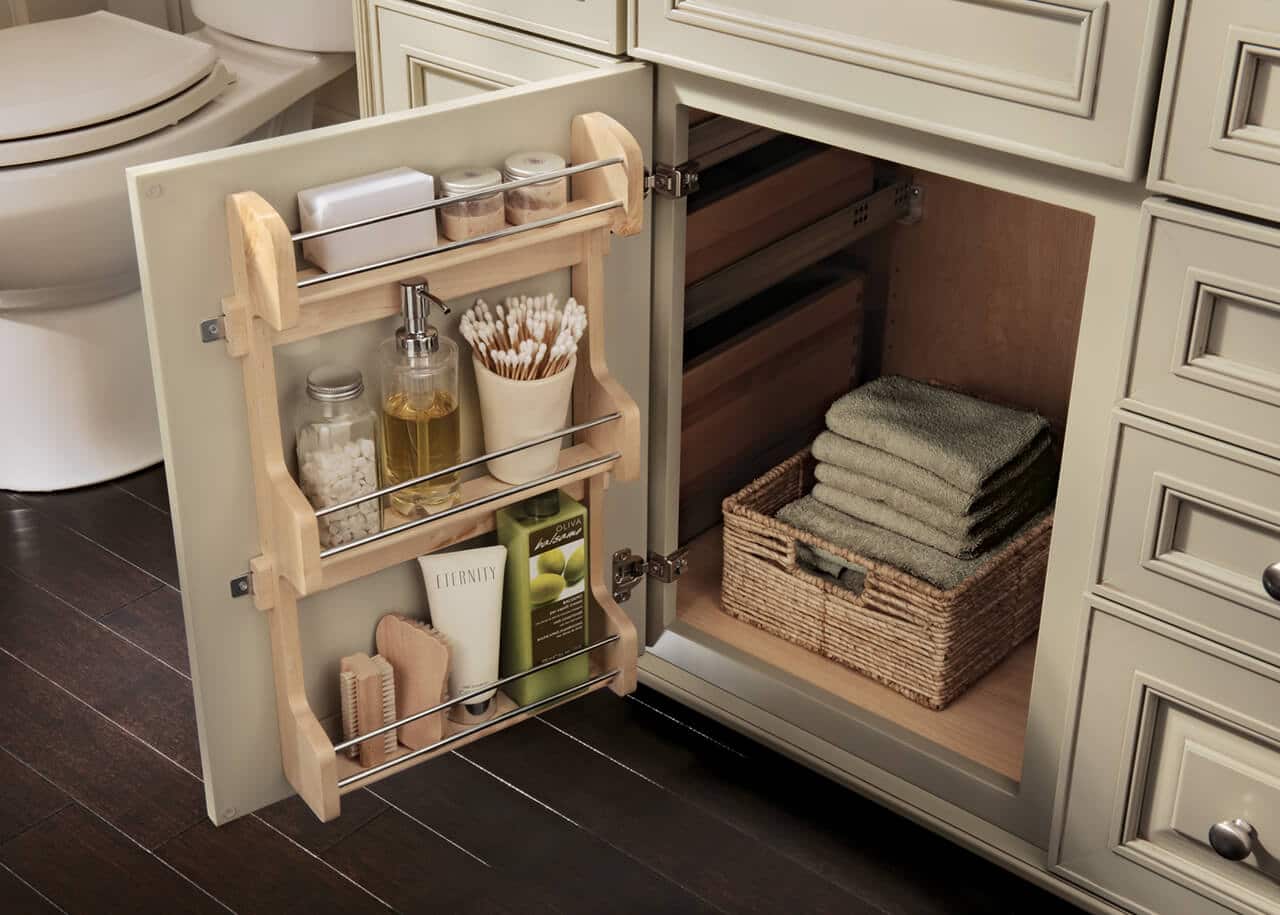
In its simplest terms, the vanity is primarily a glorified piece of furniture used for storage. It is the essence of practicality and efficiency that not only houses your plumbing fittings and accessories but can also transform your bathroom into a unique and pleasant grooming area.

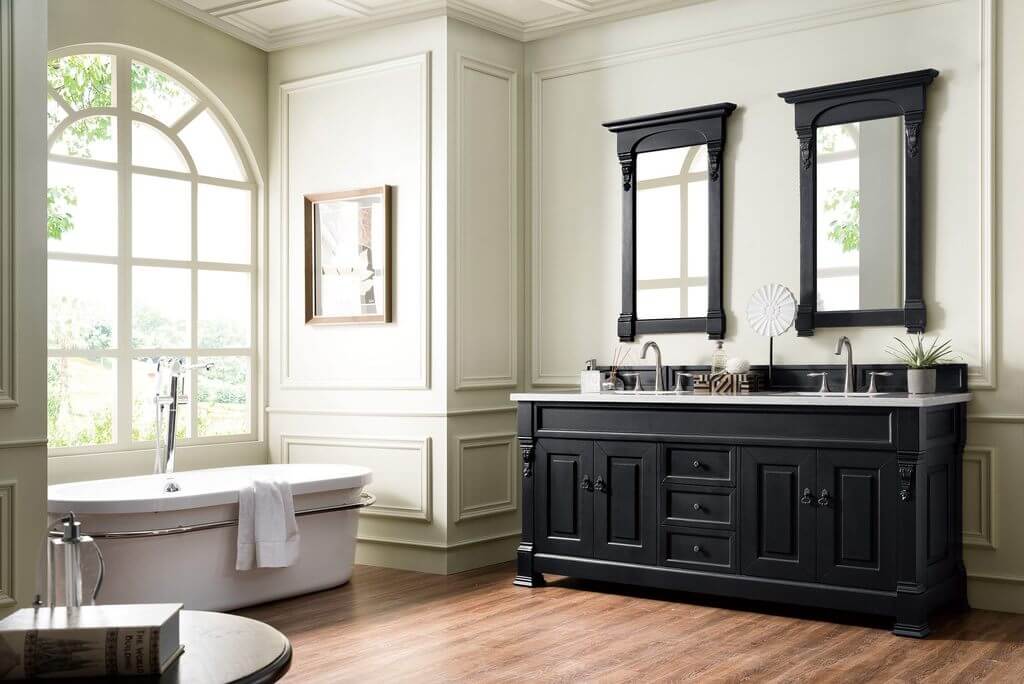
If you have a vanity that takes up a whole wall in your bathroom you are already aware of how it sets the tone for your entire bathroom. Whether you have a natural wood finish or painted wood, round edges or straight edges will all determine how inviting your vanity will be to your family to touch and use.

The vanity area is usually made up of a faucet and washbasin set, the countertop, the mirrors and possibly a medicine cabinet. Electrical outlets and lighting fixtures should also be taken into consideration when designing your vanity area. As you are well aware, there should be enough room in front of the vanity to open the drawers and doors with obstruction.

Read more: Burst Water Pipe Bathroom Temporary Repair

Sometimes though in their haste to get the perfect vanity, people forget to allow enough wall space for a mirror and lighting. Just remember to determine precisely how much storage space you will need and plan your area for specific items to alleviate the worry of running out of room for your practical storage needs such as small appliances, cleaning, and grooming accessories.

When you purchase a modular vanity, your storage capacity will already be determined for you. So if you have specialized storage needs such as kids’ toys or eldercare accessories then getting your vanity custom made may be in your best interest.

Read more: How to fix a broken tile without replacing it

If custom made will be too expensive, consider that many manufacturers have coordinated prefabricated wall cabinets, tall storage cabinets, over-the-toilet cabinets, and drawer units to meet just about anyone’s storage needs. The important thing to remember here is just to make sure your new vanity fits well into your overall bathroom layout design.

Your vanity should not only relate to other storage areas and fixtures in your bathroom but should also appeal to your senses of sight and touch. Whether whimsical or utilitarian subdued and practical you should purchase a bathroom vanity that is counterbalanced to meet all your storage needs and at the same time offer a unique easy and pleasant user experience.

Read more: Bathroom Sinks – Are Lavatory Washbasins all Washed up?

Convert an Antique Piece of Furniture into a Bathroom Vanity Masterpiece

A piece of antique furniture is the perfect way to add a unique and personalized touch to your bathroom.
The first thing you will have to do is to select an appropriate piece of furniture. Just keep in mind that the sink bowl and plumbing will extend down into the interior of the furniture so make sure there is plenty of room inside.

Your next step is to create a custom made countertop template for your new vanity. You will have a lot less hassles if you take the time to create a template before you begin cutting away. Follow the old carpenters rule of measuring twice, cutting once. Each piece of furniture will be different, so it is important to create one specifically for the piece of furniture you are using.

To make a template, you will need to flip the vanity over and trace the top of the cabinet onto a large piece of paper. Add about a quarter of an inch to the outside edge to give you room to add detail. Be sure to include any details you wish to add onto the template, especially if there are any structural details that you want to add.

Read more: Burst Water Pipe Bathroom Temporary Repair

To allow for the vanity to slightly sit back from the wall for plumbing attachments, you will need to make your countertop about 3 inches deeper in the back. Be sure to include this on your template.

The sink should come with its own template. You will need to cut out the template and trace it onto your countertop template. The sink template will have two lines. The outside line shows the lip of the sink, and the inside line shows the shape and size of the hole that is needed for the sink.

Once you have traced the sink opening onto your template, cut out the sink opening. You can then place the new template directly on top of the wash stand. It is easier if you tape it in place and then trace the sink opening onto the antique.

Save up to 70%  when you buy factory direct at ModernBathroom!

Now it is time to cut the hole for the sink. To start this part, you should begin with two starter holes. Use a jigsaw to start cutting very carefully, taking care not to cut any of the vanity’s structure below.

Now you should attach the drain fittings to the bottom of the sink. This will give you some idea on how much of the interior structure of the vanity will need to be removed to make it easier to attach all of the plumbing. It is much easier to install all of the plumbing fittings and fixtures before you install the sink.

Read more: How to fix a broken tile without replacing it

You can actually use 2 x 4’s to represent the thickness of the new countertop to do a test fit to help you determine where to create the opening for the drain to pass through the back of the vanity. You should make the drainpipe hole a little larger than the opening.

If your antique has a front drawer, you will need to modify it, so that the sink bowl and drainpipe can fit. All you need to do is cut out the shape of the sink bowl with a jigsaw.

Your new countertop will be three inches deeper than your vanity. You will need to attach two matching 3” wood strips to the rear edge of each side to make the washstand depth the same as the countertop. Use wood adhesive to attach and then clamp into place while it dries. As soon as it dries, attach long countersunk screws.

Read more: Bathroom Sinks – Are Lavatory Washbasins all Washed up?

The water supply lines need to be transferred to the back of the cabinet. Using L-brackets, attach the back of the cabinet to the wall.

Next, you will attach your countertop with special adhesive for your countertop material.

Install your sink by flipping the new sink over and putting a bead of sealant around the edge of the lip. Now, lower the sink into its place. The sealant should then be placed around the edge of the sink with your fingertip. Wipe away any excess material.

Now you have a unique one-of-a-kind vanity for your new bathroom.

Read more: Inexpensive Tile Design Through Faux Tile Effects

Bathroom Sinks – Are Lavatory Washbasins all Washed up?

Here is a question for you? Which bathroom fixture is used more than any other? If you guessed the bathroom sink, then double pump on that soap dispenser and get all lathered up as we give you the unsoiled facts on this grooming ritual. When it comes to bathroom sinks or washbasins as they are sometimes called, the primary decision you will have to make is whether you want a free standing fixture or one that is mounted on your counter top.

How much surface room do you need around your sink to perform your daily activities in your bathroom? A drop-down countertop model gives you plenty of area to work with around the sink and unobtrusively blends into the vanity. The vanity also conceals unsightly plumbing pipes and provides a readily available storage area you can use to hide away bathroom accessories, small appliances, and cleaning supplies.

Read more: How to Install Mosaic Tile in Your Bathroom

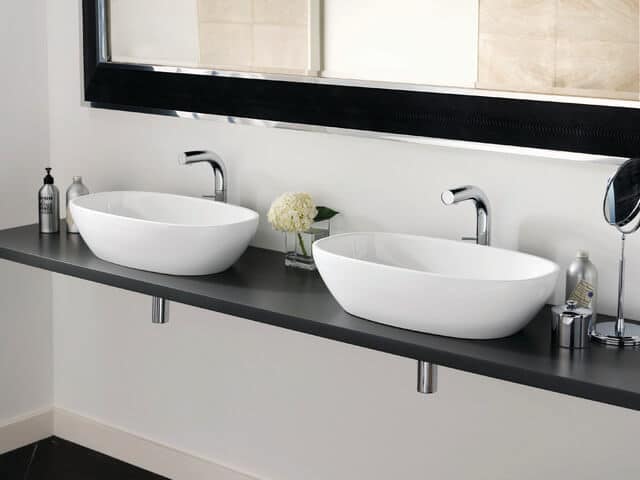
Unfortunately countertops can also become horridly cluttered and then you must consider how much space the vanity and countertop will take up in your small bathroom. Something you should take note of is the increasing popularity of above the counter washbasins. These models sit on the surface of your countertop with raised streamlined faucets to accommodate the new height.

The alternative to the countertop model is the free standing pedestal sink or a wall mounted model. The immediate benefit being that they are less bulky, take up less space and give your bathroom a more airy contemporary feel. Though you can purchase models that are era specific so if you want you can buy a fluted pedestal sink to create a vintage Victorian feel.

Read more: The Benefits of Marble Tile in Your Bathroom

If your bathroom has multiple users then you can place two pedestal sinks side by side, just remember to have a minimum of thirty inches between the sinks to make them easy to use. An island configuration is another arrangement where the two sinks are facing each other with a partition between them. Remember your minimum clearances and allow around three feet of working space in front of each sink.

The most obvious drawback to the pedestal sink is lack of counter space and storage capacity, though depending upon the model, the plumbing can be simply concealed by the pedestal stand extending down to the floor. While it may be unconventional, if you don’t have room in your powder room, you can install a washbasin in your adjacent master bedroom if necessary.

Read more: Burst Water Pipe Bathroom Temporary Repair

And don’t forget about the amenities such as space for mirrors and conveniently placed electrical outlets. Light is also an important thing to think about. Natural light from a window will help to bring out skin tones and diffuse overhead artificial light to diminish unsightly cast shadows when grooming.

There are many ways to fit a bathroom sink into your overall bathroom layout. Remember the importance that color plays to create focus, even more so than the style or size of your washbasin. And don’t forget to purchase a faucet that helps you to conserve water. A unique bathroom sink can transform an otherwise mundane cleanup into a pleasant grooming experience.

Read more: How to fix a broken tile without replacing it

8 Factors to Consider When Choosing a Whirlpool or Air-Jet Tub

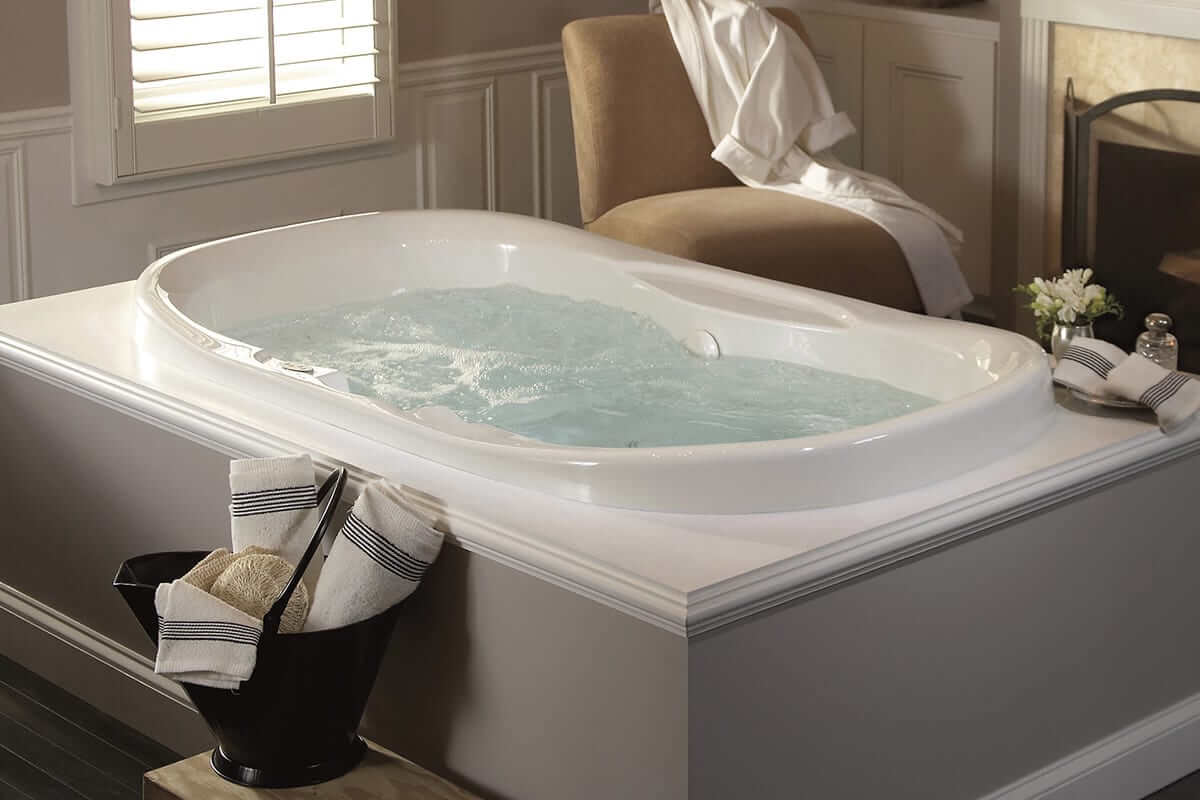
A whirlpool tub can be an exciting and relaxing addition to any bathroom renovation project. Experiencing the relaxation of a whirlpool tub can be exhilarating. However, although this is an invigorating addition to your bathroom, there are some important factors you need to consider before purchasing your whirlpool tub.

1. Determine where your new tub will go. The easiest models to install are the 5- foot (1.5 m) long that can slide into your existing tub alcove. The Deck-mount tubs actually drop into the floor or a platform, which will then require a tile surround. The Recess-mount tubs fit between the walls, and they push up against the tub rim. Corner tubs are nice because they increase your floor space. Homecenter.com

2. Decide on what type of tub system you will want. There are two different types of systems you can choose from, which is the air-jet or whirlpool. An air-jet system is composed of air being propelled through dozens of small holes to create bubbles throughout the tub. In a whirlpool, air and water are forced through four to eight large jets for a vigorous massaging action. The jets will open, close and swivel, which will adjust the pressure and flow. There may be smaller jets that cycle the backrest to massage the feet or neck.

3. There are different materials a tub can be made from. There is the enameled cast iron one, which is durable but very heavy. You will need to be sure your floor is strong enough to support such a heavy tub. Lightweight plastic and molded acrylic resists stains better than the sprayed-on gel coated fiberglass tubs.

Read more: 6 Safety Tools When Renovating Your Bathroom

4. When deciding on a tub, check to be sure that the jets are protected and have a sensor that will stop the motor if the water is too low. This will ensure the motor doesn’t burn out from lack of water. Don’t forget the built in grab bars, and make sure that you purchase one with slip-resistant floors for safety. The tub systems that have internal water heaters should maintain a consistent temperature.

5. Before you bring home any type of tub, make sure that your water heater is large enough to fill about two thirds of your tub with warm water. The whirlpool tubs can hold 25 to 150 gallons (95 to 560 liters) of water. Before you purchase a really big tub, remember all of that water and heat you will be using.

6. Access to the components of the tub is important in case there is maintenance required. There should be access by the panel in the tub surround. Whirlpool tubs could require a larger opening in order to reach the pipes. Air-jet tub systems only require access to the motor. 

Read more: Installing Stone Tile in Your Bathroom

7. You should consider purchasing a tub with a self-cleaning system. Whirlpool tubs re-circulate the water. Therefore, their systems need to be cleaned frequently. Some of the air-jet systems will automatically purge bacteria-causing residue after each use.

8. Before venturing out to buy the whirlpool tub or air jet tub for your bathroom, consider how much you are willing to spend. With all of the different options available, including the system, size and materials, they can range anywhere from $1,000 up to $20,000 or more.

Whirlpool systems and the air-jet systems can be a lot of fun and a revitalizing addition to your bathroom renovation project. Be sure to take into consideration the above factors before purchasing your tub.

Read more: Choosing The Right Tool For Your Next Bath Remodeling Job

Bathroom Renovation Tips – Do You Know What’s in Your Bathroom Walls?

So you are just about to tear down the drywall and demolish the plaster with your hammer but wait did you shut off the power and remove the cover plates from the light switches and plug ins! Better yet, do you know what dangers lie behind and run through those walls you are about to haphazardly rip apart without a second thought about the consequences of your actions?

The walls that run along your bathroom are laden with an arrangement of wires, ductwork (for heating and ventilation), and plumbing. And unfortunately, the only way you can know its contents is to carefully strip off the surface so you can see what is inside.

Read more: Preparing Your Bathroom for Renovation

At this point, provision and patience are much-needed traits. It would be prudent to do a little snooping around before you begin. The basement is a good place to start. If it is unfinished or you can remove ceiling tiles to get a better view of the plumbing and ductwork that would be great because from there you can see what goes up the walls. And don’t forget to check the rooms next to your bathroom as well. If there is a kitchen next to or another bathroom above your proposed remodeling then you will probably find pipes in that wall.

An absence of ducts or pipes running up the wall usually indicates there’s no ductwork or plumbing in there but remember all those bathroom accessories and appliances need to be powered somehow so you know there is going to be electrical wiring in most walls. Therefore use careful vigilance when cutting or poking into the surface of the wall.

Read more: Installing a Bathroom Exhaust Fan

If you are going to be moving a wall, more than likely you will have to reroute the wiring or plumbing system to accommodate the changes. Drain and vent waste lines usually take less direct routes through your home and often run from the roof all the way down to the basement and may require extensive rerouting. Also most receptacles (electrical plug-ins) are usually wired to circuits in other walls, and because of this just be prepared to reroute wiring in more than one room.

And remember if you are not going to be doing the rerouting yourself schedule the trade contractor to come in before and after you have removed your bathrooms drywall so they can assess the situation before you proceed any further. This normally entails disconnecting and reconnecting the plumbing, heating and ventilation systems before and after your bathroom renovation demolition.

Read more: Common Municipal Building Codes