How to fix a broken tile without replacing it [3 Tile Repair Solutions]

Tile repair and maintenance techniques vary depending upon the severity of damage to your ceramic tile and are usually caused by factors that include improper installation and substrate problems. Whether you have a loose bathroom tile, a cracked floor tile, a chipped ceramic backsplash tile, or a broken wall tile will all determine if you have to mend the cracked tile or replace the broken tile altogether because it is beyond a simple patch-up job.

It should go without saying that if the chip is too big; you will probably have to replace the damaged tile. If on the other hand your damaged tile is simply cracked or has a little chip, all you have to do is match the chip area with analogous tile colors and then fill the indent with clear epoxy.

Summary: Tile repair for fixing cracked, loose or broken ceramic tiles in your bathroom will be determined by the severity of your damaged tile. From repairing a chipped floor tile to replacing a broken ceramic wall tile or loose floor tile, ceramic tile repair and restorative tile maintenance can be done by the everyday homeowner with a few simple tile repair tools.”

Read more: The Benefits of Marble Tile in Your Bathroom

So you have determined that your broken tile is beyond restoration and you have no other choice but to replace your broken ceramic tile.
1) To completely replace a broken tile, the tools you will need for removing cracked or broken ceramic tile include a hammer, chisel scrapper, grout removal tool, tile adhesive, tile spreader, and some replacement tile and grout.

Clean the grout from around the damaged tile with the grout removal tool in order to replace the broken ceramic tile in your bathroom. Next, break out the defective tile using your hammer to fracture the tile into manageable pieces. Use your chisel scraper to get underneath and scrape out the shattered tile as well as the old glue from the base of the tile because you need to make the base for the new tile as smooth as possible.

Read more: How to Install Mosaic Tile in Your Bathroom

Put some tile adhesive in the opening using your tile spreader and make sure it is spread uniformly across the removed tile opening. Next take your replacement tile and press it firmly into the awaiting hole to set it in place. It is important that you wait at least a day until the tile adhesive is completely dry before you attempt to grout the tile when using this chipped tile procedure.

Now comes the final stage of replacing your broken floor or wall tiles. Mix your grout and make sure that the grout color matches your existing grout lines. Using a sponge, work the grout into the gaps around the “replacement tile” until the holes are completely filled up. A common best practice is to let the grout set for about thirty to forty minutes and then take a dry cloth and wipe away any excess grout residue on the tile’s surface.

2) If you have determined that your chipped tile or your cracked tile is repairable, you can use the following tile maintenance procedure to fix your damaged tile. To begin repairing a chip in your tile floor or tile wall you must clean the chipped tile restoration area with soap and water and then make sure the broken tile surface is completely dry. Create a border around the damaged tile to protect the surrounding ceramic tile from the excess primer before you begin your chipped tile repair.

Read more: Drywall Renovation Problems to Avoid

Apply the primer sparingly to the chipped area of the dented tile. Next, paint in the depression in the chipped tile with colors that match the surrounding bathroom tile (and patterns if necessary), let the paint dry, and then fill in the indent with clear epoxy. Special note: you don’t have to completely fill in the chipped tile with paint; the epoxy will be used to fill in the remaining depth of the gap to make it level with the rest of the tile surface. The tools you will need for repairing a chip in your bathroom tile are a paintbrush, some primer, paint, and epoxy.

3) If your tiles are loose, you can drill holes into the grout joints on either side of the loose tile, you then inject an epoxy resin using a special syringe underneath the loose bathroom tile to re-bond the tile to the substrate. Once the epoxy dries the holes are re-grouted to finish the tile repair. As you can see, tile restoration and maintenance is not as difficult as most homeowners think it is. Whether you have to fix a loose bathroom tile, replace a cracked wall tile or broken floor tiles, you can effectively perform quality tile repair using these simple tile maintenance procedures.

Read more: How to Remove a Toilet

Burst Water Pipe Bathroom Temporary Repair

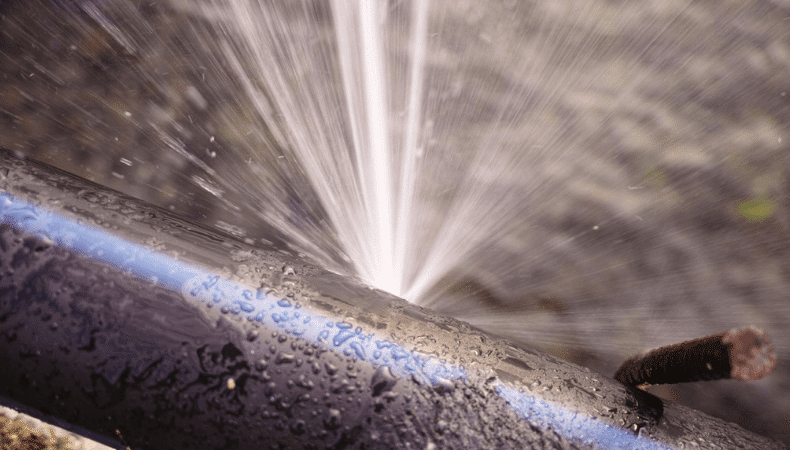
One of the most common plumbing emergencies is a burst water pipe. Are you looking for a quick fix? Here’s what you can do to make a temporary repair to quickly solve the problem if this happens to your pipes in your bathroom. Whether it’s a gushing geyser from an accidental cut in a copper pipe when doing bathroom renovations or a tiny pinhole leak in an old cast-iron pipe, it needs to be fixed right away before it causes unnecessary water damage.

The very first thing you should do is turn off the water to your pipes so that you can gauge the problem and hopefully make the necessary repair. Sometimes you might get lucky and all you have to do is tighten a fitting. The optimal solution would be to replace the damaged section of the pipe but if that can’t be done right away because you don’t have the replacement pipe then a temporary solution is to patch the pipe until you can get what you need.

Read more: How to Remove a Toilet

The tools and materials you require are quite straight forward and include a metal file, screwdriver, banded clamps, and rubber pipe insulation. A word of caution here, a temporary patch is exactly like what the name says “temporary”, you may be able to get away with using it for a few days but rather than risk the patch leaking or bursting you should replace the damaged plumbing pipe as quickly as you can. Also because water going through your pipes is under pressure, the patch should be checked upon regularly to make sure it is still holding.

To begin, the first thing that you need to do is use a metal file to smooth and flatten out any sharp edges around the cracked opening in the pipe. Next take some thick rubber pipe insulation or if you don’t have any, cut off a section of a garden hose, slit it length wise and slip it over the damaged pipe.

Read more: Drywall Renovation Problems to Avoid

To finish, securely attach banded clamps over the rubber insulation at each side of the split in the pipe and tighten the clamp screws of the banded clamps. The whole apparatus now acts as a sort of protective sleeve. Try to get the clamps as close to the edge of the tear in your pipe as possible so that you have a nice tight seal.

Emergencies do happen. As noted this can sometimes happen with unexpected plumbing problems. Make sure you are prepared by having some extra pipe insulation and banded clamps handy just in case. As in most preventive maintenance measures, its better to be safe than sorry, so plan ahead.

Read more: How to Install Mosaic Tile in Your Bathroom

The Benefits of Marble Tile in Your Bathroom / Shower

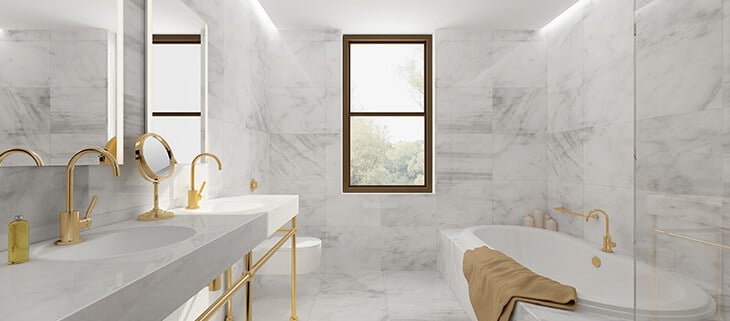
When remodeling, the use of marble tile floors in your bathroom provides a number of advantages in addition to the rich swirling beautiful designs inherent in the stone with its interesting coloration and veining effects, not to mention the variety of densities of the material that are available. Here are a few of the reasons why considering the installation of marble flooring may be ideal for your next bathroom renovation. 

Cleaning marble tile is easy if done on a regular basis, and with minimal care and effort it will look attractive for many years. It is durable and cost-effective because it will exponentially add value to your home if you choose to eventually sell. To get the most from your marble tiles, it is also important that you understand the basics of marble such as what kind of regular maintenance is required and the drawbacks of using the material.

Marble tiles, just like ceramic tiles, makes an excellent bathroom floor material. Hardness is the main factor in determining the price of the marble floor tiles. Depending upon the density of your choice of marble, you do have to be careful when initially handling the tiles but once they are set and bonded to the subfloor with a cement-based thin-set mortar, the marble is solid and will resist any cracking or separation along the veins.

Read more: How to prevent mold in bathroom with and without fan

The only stipulation is that your subfloor be solid and flat with no bounce when installing the marble tile to avoid your floor cracking when you walk on it from the unevenness. This can be resolved by installing your marble on top of a leveling membrane and making sure your floor is completely even.

Because marble does have such interesting swirling patterns, the orientation of your tile is a design decision you should take into consideration. You should be aware that natural marble tiles usually cannot be laid out in a visually seamless manner because the many diverse patterns will not permit an ideal match. So finding a set of visually and texturally well-matched tiles for your design can sometimes be quite time consuming. It is important to get this right since the only time that any amount of consistency can be ensured is during the installation stage.

Read more: Bath Renovating For Dollars!

While it is easier to align the marble tiles parallel with the walls of your bathroom, the visual effect will be a lot more eye-catching if done at a forty-five degree angle. This however will require a bit more skill when cutting the pieces of tile to fit. A one eight gap between the tiles is a good conventional measure and the grout should have the consistency of chilled cake icing that will not run if you tilt the spatula on its side. And it is also important to provide enough thinset thickness to enable adjustability of the tiles.

If a tile does crack then you can clean the broken piece with acetone and then glue it back in place with epoxy glue. While marble is stain resistant you should clean any stains as soon as possible so they don’t become permanent. Stains can be cleaned readily with polishing agents and to prevent further staining and scratching, a layer of sealant should be applied.

Marble is a natural stone that is formed when limestone is heated and subjected to intense pressure. Sand and acidic liquids are marble tile’s main antagonists, so be sure to avoid using abrasive cleaners with acidity. Your best bet is to go to a store that just sells stone products and ask them or just use soap and water. Regular cleaning with a sponge or rag is a prerequisite to keep the marble sparkling for years, once every week or so is a good maintenance schedule. It’s really important not to let grime build-up to the point where you have to scrub intensely to get it off or you may scratch the stone.

Read more: How to Remove a Toilet

The other great benefit of marble tile is despite the hundreds of dollars worth of tiles you use, you can dramatically increase the value of your home by thousands of dollars due to its perceived value. Also with the trend of homeowners demanding natural materials in construction, marble will fit the natural trend quite nicely. Marble does not absorb heat so your bathroom remains cool on those hot summer days.

Versatility is another benefit of marble, you can use marble tiles on bathroom floors, shower walls, tub surrounds, and vanity countertops. Whether glazed or unglazed, matte finish, satin or high gloss, having marble in your bathroom adds a sense of class to your décor. It is practical and attractive and a good viable option for surfaces in your bathroom that will last for many years to come.

Read more: Drywall Renovation Problems

How to Install Mosaic Tile in Your Bathroom / Shower

Begin installing mosaic tiles by first examining the sheets of mosaic tiles that you have purchased to verify their condition and mosaic backing type. Glass mosaics tile sheets usually come with a thin plastic film on the front surface of the mosaic tile to hold the tiles together.

Installing glass mosaic tile sheets is basically the same as installing marble mosaic or ceramic mosaic tiles, the only real difference being that ceramic or marble mosaic tiles are normally mounted from the back on fiberglass netting, plastic mesh, paper, or threaded backing.

Most mosaic tiles are glass or high-fired porcelain which makes them impervious to wetness in your bathroom. The good thing about installing porcelain mosaic tiles in your bathroom is that they come in glazed surfaces for walls and alternatively non slip surfaces for your bathroom tile floors. When installing mosaic tiles, a starting point on your bathroom floor or wall must be established and should be marked as to where the mosaic tile sheets are to be laid down.

Read more: How to prevent mold in bathroom with and without fan

Just remember when installing your tiles to mark and level the guidelines at right angles to each other depending upon the size of the mosaic tile sheets to be installed. To get started with your mosaic tile installation, marks off the squares of a couple of sheets, making sure the guidelines are horizontal and vertical to establish a level pattern.

Summary: Learning how to install mosaic tiles in your bathroom has been made a lot easier by mosaic tile sheets. Installing glass mosaic tile sheets is basically the same as installing marble mosaic or ceramic mosaic tiles, the only difference when installing ceramic or marble mosaic tiles in your bathroom is that they are normally mounted from the back on fiberglass netting, plastic mesh, paper, or threaded backing.”

Once the mosaic tile grid has been marked on your bathroom floor or walls, the adhesive, which is a polymer-modified thin-set (or epoxy adhesive) should be spread over the work area using the smooth surface of a ¼ inch notched trowel. Then the beveled v-edge of the notch trowel can be used to remove excess adhesive by establishing a 45-degree angle with the trowel and just putting enough pressure to remove only the excess epoxy adhesive. Work the adhesive just inside the grid lines you have set on your bathroom walls or when installing mosaic floor tiles. Be careful not to cover the lines so you have a visual guide to work with and this allows you to place the mosaic tiles right on the lines for greater accuracy.

Read more: Bath Renovating For Dollars!

After the adhesive has been applied to the base, begin by applying the mosaic tile sheets with the plastic film toward if you are using glass mosaic tiles or the fiberglass backing away from you, if you are using marble or ceramic mosaic tiles. Set the corner of the mosaic tile sheet just inside the corner of the layout lines. On your bathroom walls, gently press and tap the mosaic tiles in place with a sponge trowel or float to set the mosaic tiles firmly into the mortar adhesive (if you are installing mosaic tile on your bathroom floor, you can use a beater block and rubber mallet to achieve the same results).

Make sure all mosaic surfaces are flat and level, as mosaic tile has a tendency of highlighting any imperfections. Special note; it is imperative that all mosaic tiles bases are covered in adhesive, you can check this by gently lifting up an edge to ensure full coverage.

Make sure the edges of each mosaic tile sheet are level with its adjoining neighbor and all the joints are aligned. On mosaic tile floors, you can use a metal straightedge to keep the joints straight. If you need to adjust the alignment or cut your mosaic tiles to fit around an obstacle you can use a utility knife to cut the backing of your mosaic tiles in the shape of the object such as around a soap dish or toilet base and then manually strip away the unneeded mosaic tiles or you can use tile nippers (snap cutters) for a more precise cut.

Read more: How to Remove a Toilet

Make sure the tile adhesive is completely hard and dry, approximately three hours, at which time if you are using glass mosaic tiles, you can begin to remove the plastic sheeting at a diagonal angle to the tiles. It should go without saying that if there is any movement of the tiles, then you should let the mosaic tiles sit longer before you attempt to remove the plastic film from the mosaic.

When installing mosaic tiles, the recommended waiting time before grouting your vertical mosaic tile walls is twenty-four hours and the suggested wait time for bathroom floors is forty-eight hours after the tile adhesive has dried before being walked on and then proceeding to grout your mosaic tiles. Mix un-sanded grout according to the manufactures specifications and then using a rubber float by means of vertical and horizontal strokes spread the grouting cement, applying a light pressure to assure the grout joints are all filled. You can use your rubber float at a diagonal angle to remove any excess grout.

Once the grout begins to set you can clean the surface of your mosaic tile. JFYI this grout setting time will vary depending upon the surrounding room temperature and normally ranges for thirty to sixty minutes.

Removing excess grout can be done by gently using a slightly damp sponge, be careful here not to scrub the sponge as this will unnecessarily remove the grout from the joints. Another point to remember is that this process has to be done before the grout has completely dried or else your tiles will look dull and faded.

If you were unable to remove all the excess grout with sponging, have heart, the grout film can still be removed using a specially formulated acid based grout cleaner that you can purchase from any home improvement store. For thicker grout removal, you can use (000) steel wool to gently get rid of the excessive grout. Your grout will usually take twenty-four to thirty-six hours to dry.

Read more: Drywall Renovation Problems

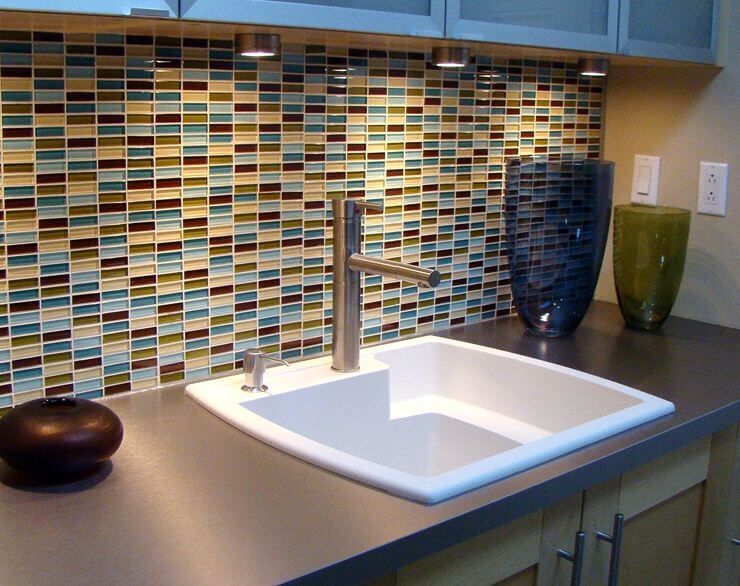
These instructions for installing mosaic tiles can also be used when installing a ceramic tile backsplash, mosaic tile countertop or even a tile backsplash mural in your bathroom. Learning how to install mosaic tile has been made a lot easier these days with the mosaic tile sheets as compared to the days when you had to install each tiny tile individually.

There is even a mosaic meshed glass tile available now. The other advantage of using a mosaic tile is that the small tiles make it easier to fit around obstacles in your bathroom. And with the variety of colors, shapes, and geometric figures, mosaic tile could just be the creative tile solution you are looking for in your bathroom.

Drywall Renovation Problems to Avoid When Installing A Ceiling

Proper Ventilation Prevents Buckling and Mold

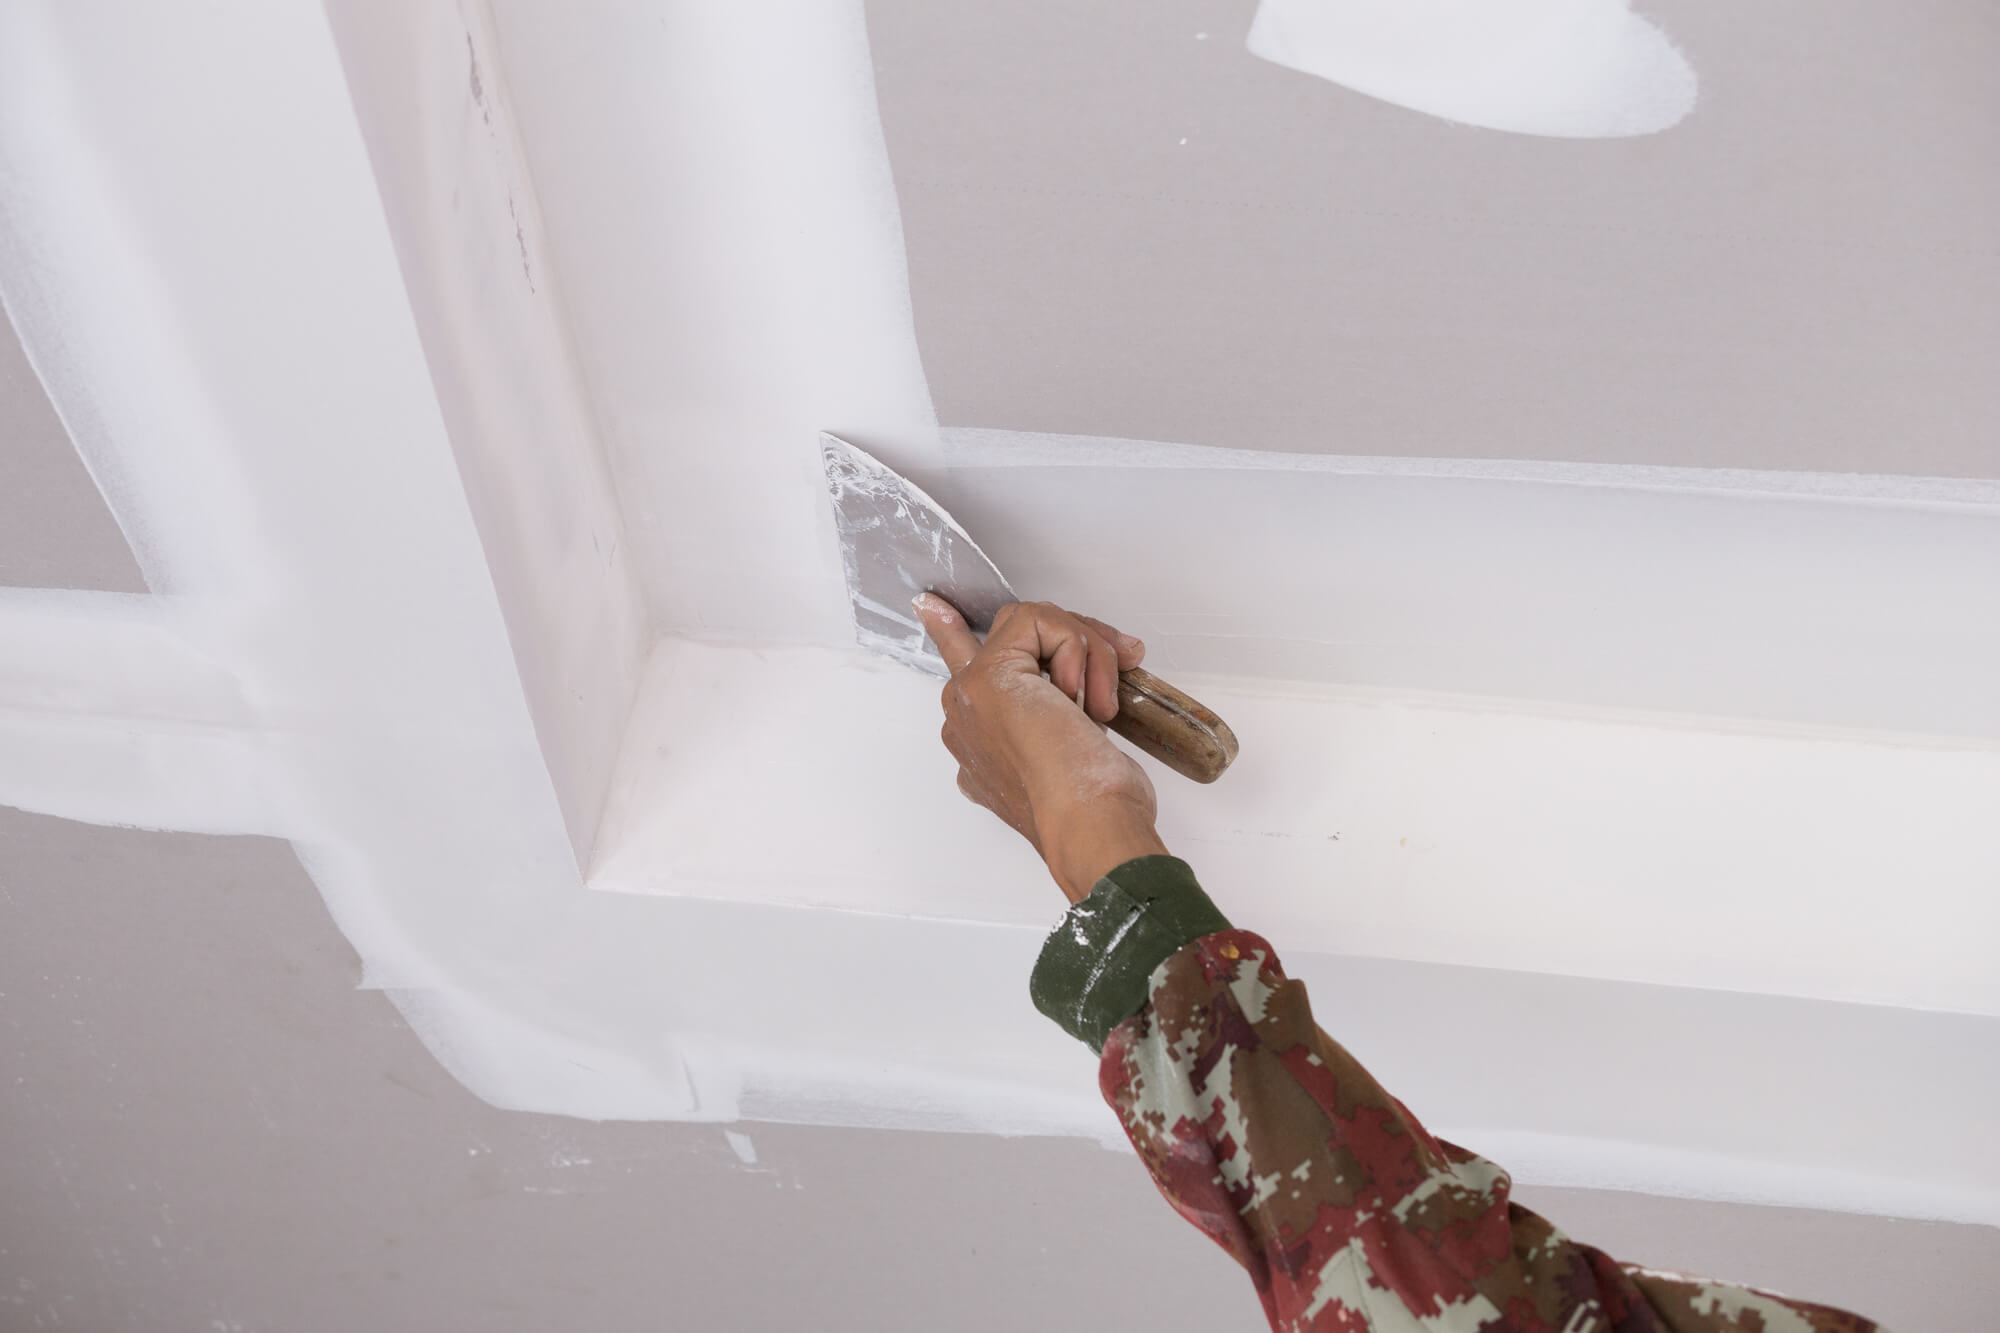
Here are some common problems you want to avoid when installing a drywall ceiling in your bath and the solutions to these unnecessary mistakes. We all know that the bathroom is a moisture-rich environment and nobody wants to go through the hassle of redoing their bathroom ceiling once it’s finished.

A common mistake that homeowners make when installing a drywall ceiling is they forget about proper ventilation, the drywall is not sealed properly or does not have sufficient support and the other mistake is inadequate framing at inside corners making it impossible to fasten the edge of the drywall as it should be.

A frequent predicament with your ceiling is moisture-wicking upward and contaminating your drywall. The problem is that the ceiling above the shower is absorbing water. A telltale sign is if you notice in a few places on the ceiling that the drywall paper is bubbling slightly or if there is any unusual discoloration in your ceiling.

Read more: Bath Renovating For Dollars!

This occurs when there is not enough ventilation in your bathroom. Ventilation ducts are not enough. The solution is to install an exhaust fan (or a combo light and exhaust fan) to remove the humidity from the air.

Get a fan or a light/exhaust fan unit that is sealed, this will do away with vapor getting into the light workings and contaminating the drywall around the light hole. Just remember that you are required to keep the insulation back approximately 18 inches square from around the light/exhaust fan fixture.

Seal Your Overhead Surfaces With Primer

Keep in mind to use a water proof compound and also fiber tape for the bedding work. Another option to consider is a ceiling heater. While not as effective as an exhaust fan for removing moisture from the air, these can be nice for when you step out of your shower and want the comfort of a warm bathroom on a cold day.

Read more: How to prevent mold in bathroom with and without fan

Another common mistake first-time bathroom renovators make is improperly sealing their drywall bathroom ceiling. This can be avoided altogether by simply applying a layer of a good primer such as Zinsser 123 before spraying on any texture.

If on the other hand the damage has already been done and you want a fresh surface, you can use either 1/4″ or 3/8″ standard drywall over the existing drywall ceiling, and then apply a good primer. Prime it, then use a good quality bath latex paint to seal it all in.

Read more: How to Remove an Old Vanity in Your Washroom

When renovating your bathroom, it is very important that your ceiling drywall is properly supported; this can be achieved by adding more than enough screws and making sure they hit the rafters and be sure they are long enough to go through two layers of rock and at least half an inch into the rafters or more.

And leave enough framing at inside corners so that you can fasten the edges of the drywall securely to the ceiling rafters. A good rule of thumb is to make sure there’s at least one inch of exposed framing at corners. Don’t forget to mark the location of framing members before you cover them with drywall or else you’ll have a hard time placing the screws accurately.

Read more: A New Ventilation System Can Make Your Bathroom More Comfortable and Attractive

How to Remove a Toilet

The Replacement Process is Straight Forward

Here is a novel idea to help reduce your bathroom re modeling costs by simply doing some of the renovation work yourself. Most home improvement projects whether you are tiling your floor or resurfacing your lavatory walls will require you to remove your toilet.

If you are confident and you have consulted a plumber, then the actual time it will take to remove your washroom toilet will be approximately thirty to forty minutes depending on if you encounter some stubborn anchor bolts.

Whenever you renovate your bathroom, as always, safety should be a main concern, so be sure to turn off the water supply and any electricity going to your bathroom. Removing a toilet is actually quite easy and straightforward; it’s putting the new toilet back on the wax ring that should be done by a contract professional or someone with really steady hands.

Read more: Bath Renovating For Dollars!

Before you begin to renovate, you will need a plastic bag, bleach, some rags, penetrating oil (such as WD-40), duck tape and some wood slats. The renovation tools you will need include:

  • 1 – Plumbers plunger, bucket, and tape measure
  • 2 – Adjustable wrench, Allen wrenches, and a pipe wrench
  • 3 – Hack saw, Phillips, blade screwdriver, and a putty knife
  • 4 Groove-joint pliers and locking pliers to round off your renovation checklist.

To proceed with your bathroom renovation plans it’s usually best to remove your bathroom fixtures anyway so that they are not damaged or subsequently in your way which gives you more room to work with you’re remodeling.

Read more: How to prevent mold in bathroom with and without fan

Anchor Bolts and Ring

Ok, lets renovate, first pour a quart of bleach into your toilet tank, flush and let your toilet refill.

Next close the shut off valve and flush again, make sure you hold down the handle until all the water is out of the tank. Grab you plumber’s plunger and push the rest of the remaining water out of the trap and stuff the bowl with the rags you acquired. The water supply line can then be disconnected with your wrench or grove-joint pliers.

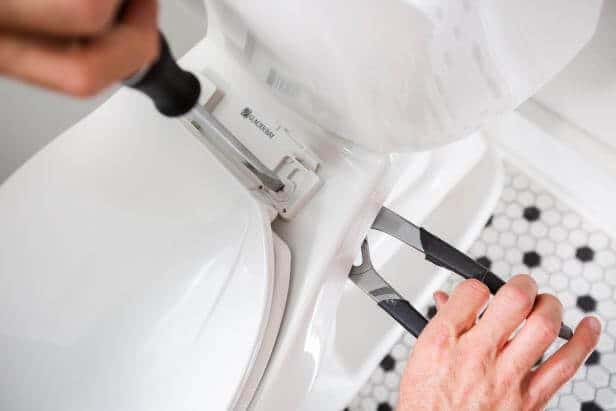
Remove the anchor-bolts caps and loosen and take off the anchor bolts with an adjustable wrench. If the bolts won’t come off easily then you may have to cut them off with your hack saw. Once that is done, you need to break the seal of the wax ring that seals the toilet trap snugly against the closet flange in the floor.

Read more: How to Remove an Old Vanity in Your Washroom

To do this you need to rock your toilet lightly back and forth as you lift it off the ring. Now that your toilet is moved to another room, all that remains is the wax ring on your bathroom floor.

Using a plastic bag as a sort of gloved sleeve, grab the inside bottom of the wax ring and as you are pulling it out, with your free hand, turn the bag inside out to stuff the ring inside the bag and neatly dispose of the ring.

To clean up the remaining gunk from the flange, use your putty knife to scrape away the residue. Next stuff you remaining rags into the drain and seal it with duck tape so that it will not dislodge while you go about your business renovating your bathroom.

Read more: A New Ventilation System Can Make Your Bathroom More Comfortable and Attractive

Bath Renovating For Dollars!

Profitable Home Improvements

Flipping a house is not a new concept. For a long time people have been renovating homes and then selling them for a profit. I’m sure just about everyone has seen or heard of the A&E, The Big Fix, AETV, and HGTV television series called Flip This House.

If you have watched the show then you would know that the two most important selling features of any home is the kitchen and the bathroom.

And since this site is all about bathrooms we are going to skip the kitchen and examine just what it takes to make your bath appealing so that you can make a decent ROI if a bathroom reno project is up to your alley and flipping your house is your intended purpose.

Read more: All about Tub Faucets

One of the best ways to impress a prospective buyer is with a new bathtub. Modern tubs come in a greater variety of styles and models than ever before.

The good thing about modern tubs is that the are usually smaller than the more traditional older longer tubs and they are not as tall so the ceiling appears to be taller, leaving a more spacious impression on the home buyer.

Another important tip when renovating your bath is to keep your fixtures simple and unadorned, yet trendy enough for mass appeal. This does not mean colorless or tasteless, simple colors and surface textures go a long way to creating a sense of unity and design coherence when redoing a bathroom.

Eliminate any clutter or any unnecessary ornaments such as fishes on the walls or brightly patterned shower curtains. Rather purchase an unadorned shower curtain or another solution would be to match the shower curtain with your walls or even a clear curtain would fit the bill quite nicely to keep your bathroom feeling airy inviting and fresh.

This also leaves the door open for the prospective buyer to imagine in their own minds how their stuff will look in your bathroom giving them a greater sense of ownership.

Read more: Japanese Bathtubs: An Emerging Bath Trend

Don’t forget when renovating that less is more. Pedestal sinks are compact, hot, and trendy. If storage space is an issue when upgrading your loo, you can always install a wall hung cabinet above your new smaller, quieter, water-saving energy-efficient toilet.

Green Fixtures Increases Curb Appeal

Green energy efficient faucets and fixtures are always a good selling point. People want the latest fashions and they will love the fact that they will be saving money on their bills in the long run.

You might even consider a wall mounted sink as a viable alternative. Though this can be more work when renovating but the effect is worth the effort. A vessel sink mounted on a small vanity or modified chest will definitely create a luxurious upscale look to your bathroom for those upmarket buyers.

As a final note when staging your bath, use towels and linens that are fluffy enough to warrant an inviting touch. A slight hint of vanilla in the air is always engaging. Even soft music can set the mood for the prospective buyers.

Read more: A New Ventilation System Can Make Your Bathroom More Comfortable and Attractive

And don’t forget to add a large mirror to help optically enlarge your bathroom and fill the room with light or at least a nice framed mirror instead of the ugly medicine cabinet that is standard in most homes.

Wall scones on either side of the mirror are an added bonus that any homebuyer would appreciate in the morning when applying makeup or shaving.

So while we have covered the gamut of what you can renovate in your washroom, don’t feel that you have to tear down the walls and install the latest all-in-one steam shower and sauna unit just because it’s trendy.

The main thing that you should remember is to keep things simple and uncluttered, this alone will go a long way in increasing the appeal of your bathing area and will help to keep the costs down when you are planning to renovate your bathroom to eventually sell your home for profit.

Read more: How to Remove an Old Vanity in Your Washroom

How to prevent mold in bathroom with and without fan

Stopping the Spores Before They Spread

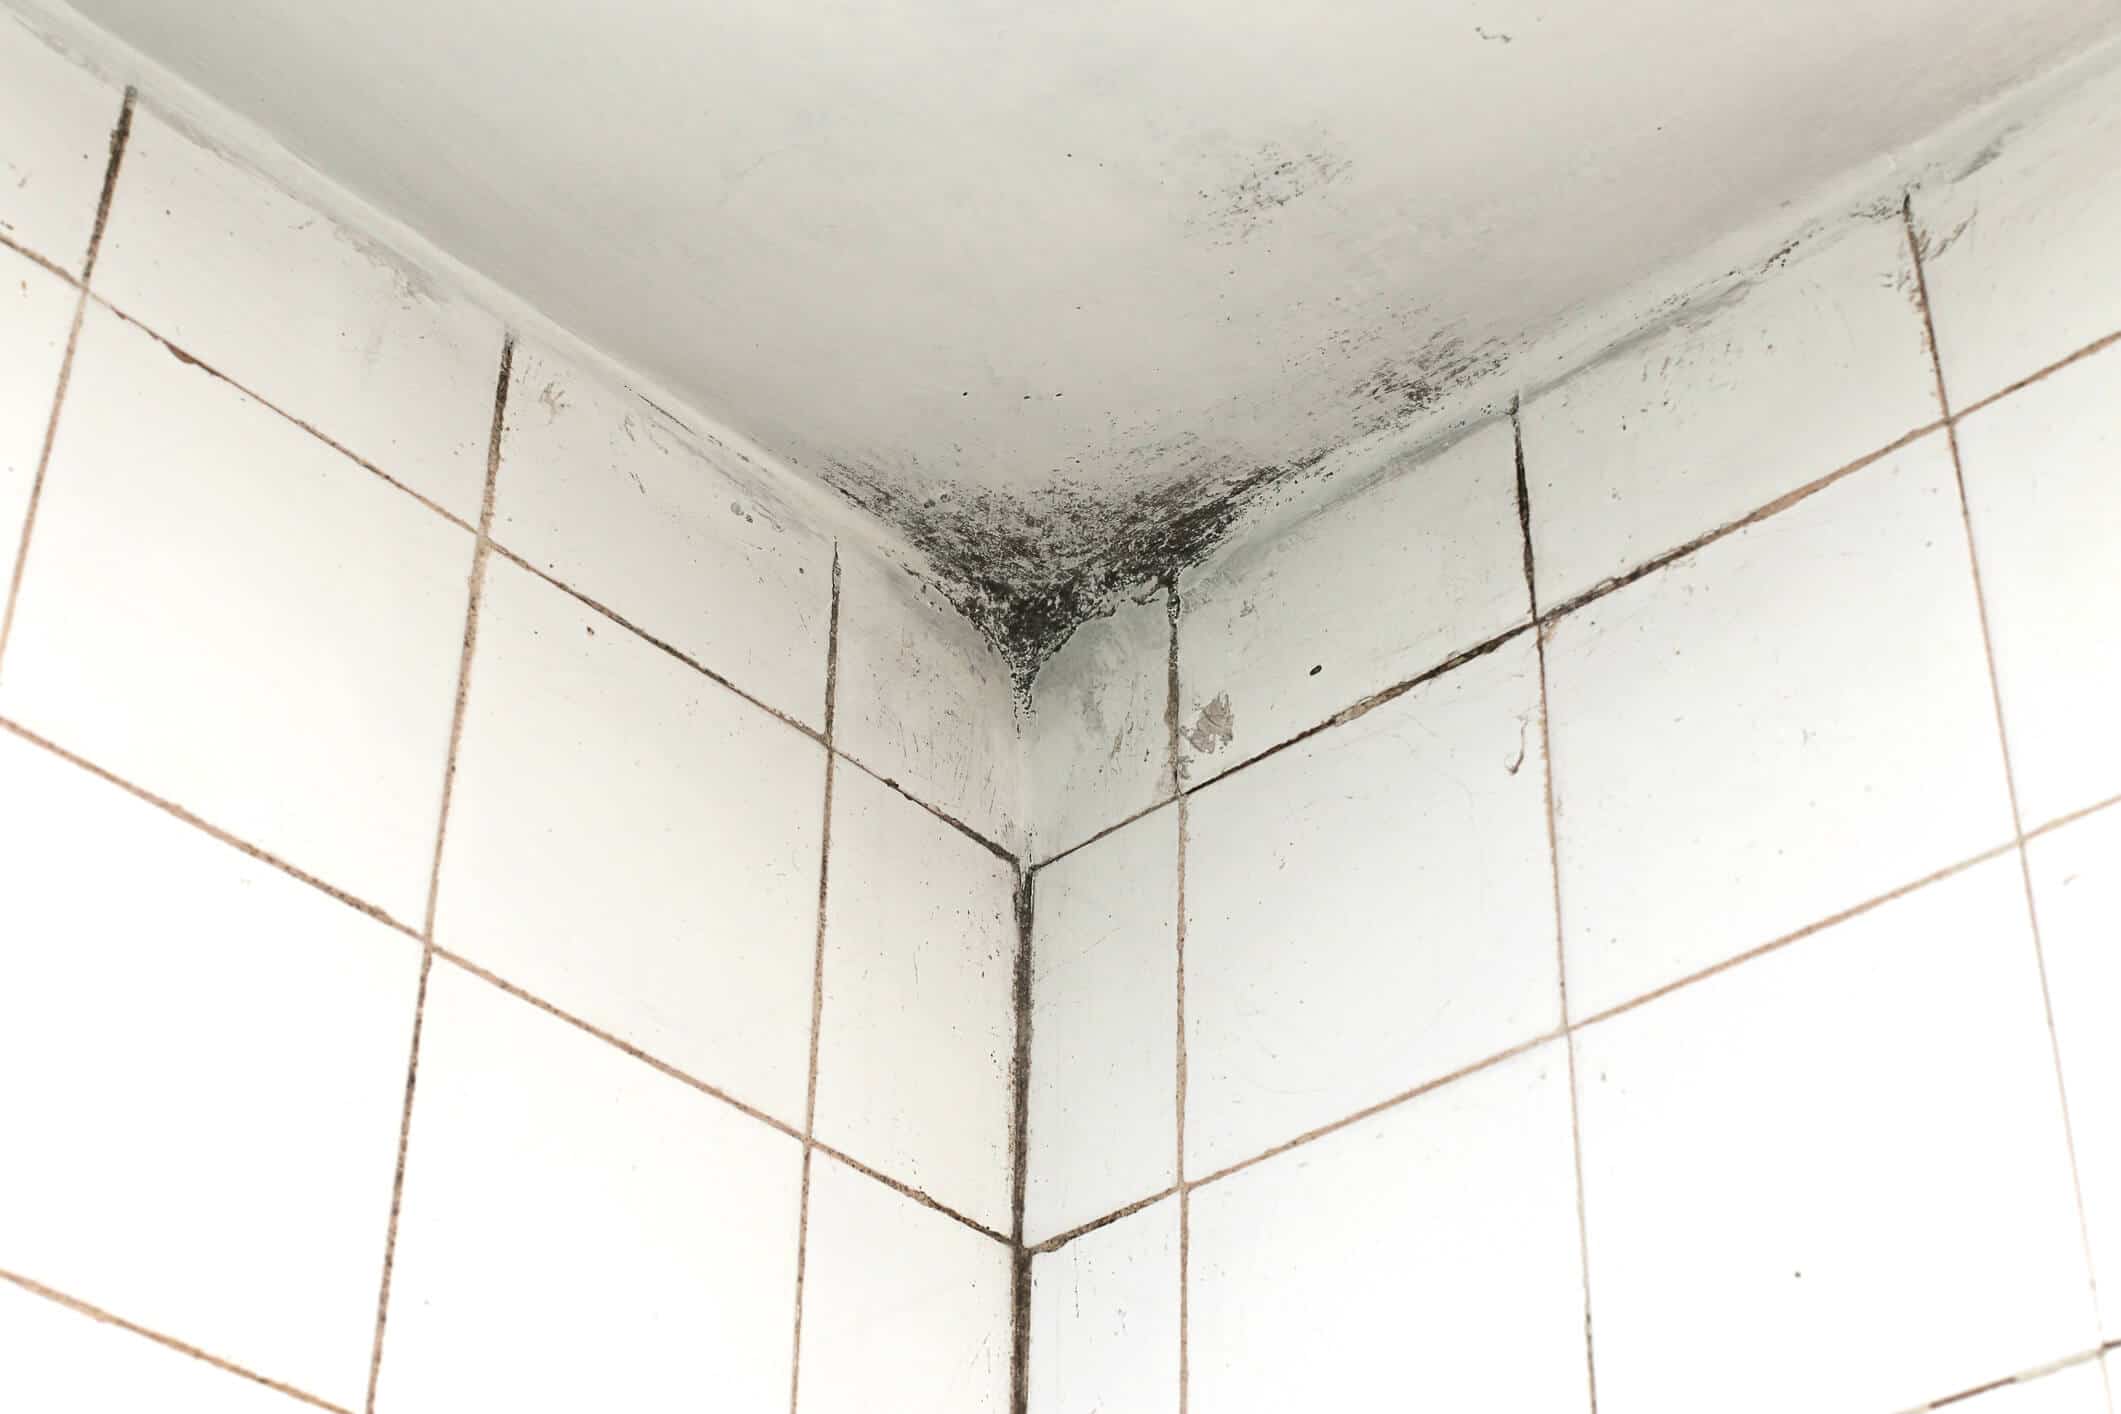
Preventing mold in your bathroom is a very important safety concern. Mold fungus is unsightly, unhealthy and ruins your bathroom walls and ceiling. Your washhroom is one of the dampest rooms in your home, which provides the perfect environment for black mold fungus to cultivate.

The fact that heat and moisture is habitually generated in your lavatory itself encourages mold growth as these contributing environmental factors provide textbook conditions for mold spores to flourish.

If you have small children or a family member with asthma or allergy problems, preventing mold and mildew in your lavatory is vital for their health and for the way your bathroom walls and ceiling looks.

Read more: All about Tub Faucets

Save Yourself From an Expensive Demolition

What you have to look out for is, if neglected, bathroom mold will likely spread internally through your walls, ceilings, and floors and this damage could lead to an extremely expensive bathroom reconstruction project. That is why it is important that you learn how to identify and eliminate mold from your bathing facility.

One of the key factors for fighting the black mold fungus in your washroom is frequent inspections and maintenance of your bathroom fixtures to prevent unnecessary water damage that can potentially lead to mold growth.

The first step in mold prevention is to ensure your bathroom is dry and well ventilated after each shower. You can even use a humidity meter to stay on top of things after showers. Your goal is to keep the humidity levels below forty to forty-five percent.

Read more: Japanese Bathtubs: An Emerging Bath Trend

Adequate Ventilation is the Best Defense

With adequate air circulation from your bathroom fan or an open window, your bathroom humidity levels should drop below 45 percent within 5-10 minutes from the minute you finished your shower and this should hinder any mold growth.

Regular shower and bathtub maintenance is your first line of defense against mold spores. Fix those faucet leaks. Turn on the fan while showering and keep it on for about 20 minutes after each shower.

Ensure your bath surface on your bathtub, floors, walls, and ceilings are clean and dry as much as possible. If you have a shower curtain, to prevent mold where it is very likely to grow in the folded moist sections, be sure to stretch out your bathtub curtain after using the bathtub to allow the curtains surface to completely dry.

Read more: A New Ventilation System Can Make Your Bathroom More Comfortable and Attractive

Proper ventilation and your bathroom’s unobstructed airflow allow air to circulate freely in and out of your lavatory, these are key steps in keeping low humidity levels in your loo and prevent mold to occur.

It should also be common sense to open windows and doors right after taking a shower to allow air to circulate and evaporate any excess moisture left behind.

Most modern bathrooms have an exhaust fan built-in but if your bathroom is a new addition in your basement and you didn’t install an exhaust fan yet, do so as soon as possible as this is a prerequisite for preventing mold build-up.

Turn on the exhaust fan while taking a bath or shower and leave it working for 10-20 more minutes after finishing using the bathroom to allow the bathroom to dry completely.

Regular Maintenance of Fixtures Inhibits Water Damage

Regular scheduled cleaning and maintenance is important to prevent water damage and mold. Regular checks of your fixtures will also help detecting potential lavatory problems before they become a lot more expensive to fix.

Pipe drains and fittings must be kept in good shape. Allow your bathtub to drain completely and unclog drains by removing all hair and debris. The use of drain openers from time to time will also help you along the way.

Read more: How to Remove an Old Vanity in Your Washroom

Regular maintenance of your tile and grout and the application of stone sealants all help in the defense against mold in your bathroom. Semi-gloss paint on your bathroom walls presents a harder surface for mold to grow on.

Bathroom mold is unsightly, unhealthy and ruins your walls, using these precautions you can prevent mold from taking a hold in your bath space.

How to Remove an Old Vanity in Your Washroom

Revitalizing the Look of Your Grooming Space

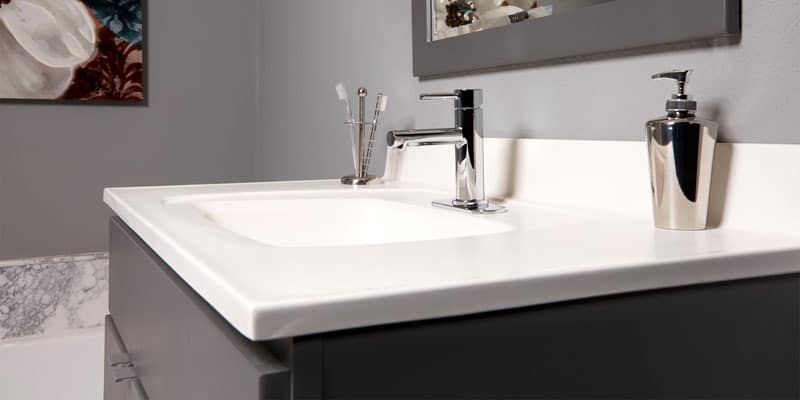
Just about everyone has a vanity in their bathroom. If you want to perform a simple alteration like tiling over the vanity counter top or if you are tentatively contemplating replacement, just for the record, it is usually best to totally remove your old vanity and replace it with a new one before proceeding with your bathroom make over.

Sure you can just replace the countertop and save on your renovation costs but if you want to completely refresh your bath design and integrate your vanity with your new energy-efficient fixtures, a full removal is probably best.

Read more: All about Tub Faucets

After all, on average it would only take you about an hour of your time, this of course will depend upon the size and complexity of your vanity but for the average renovator who has an average-sized bathroom, this is the norm.

The tools you need for this remodeling project are quite straightforward too. A cordless drill and bits, joint pliers, wrenches, a pry bar, utility & putty knife, and a hammer are all that you need.

The only stipulation is that you shut off the water supply to your bathroom before you begin to renovate. As to whether you want to remove the washbasin or leave it with the vanity is completely up to you, however, it should be noted that removing the sink will reduce the weight of the vanity when you are ready to take it out.

First things first, once the water is shut off, disconnect the water supply lines. On the sink, if you have a lift rod that controls the sink stopper, then this must be removed. First, pull off the clip and loosen the setscrew that fastens the strap to the shaft.

Then you must loosen the compression nuts on both supply lines and pull the supply lines out of the valves.

Read more: Japanese Bathtubs: An Emerging Bath Trend

Taking Out the Cabinet

Underneath the vanity, find the corner wedge or cleats that hold the cabinet to the countertop and unscrew this using your cordless drill or screwdriver, just make sure you don’t remove the screws that hold the corner blocks to the vanity cabinet frame.

Remove the sink and disconnect the supply lines and drain the pipes. More than likely there will be retaining screws and clips on the sink, these must be removed also.

To remove the vanity countertop, using your utility knife, you must score the joint connecting the backsplash and your bathroom wall to break the seal of the caulk or glue holding it in place remembering to keep the blade perfectly horizontal so as not to cut into the cabinet.

Read more: Installing Under-Floor Electric Radiant Heat

Remove any remaining trim around the countertop edge. Then using the leverage of a pry bar between the countertop and the bottom cabinet unit lift off the countertop but be careful, if it is too heavy, you may have to cut it in half using a reciprocating saw.

Once the countertop is removed, it is now a matter of enlarging the back- panel openings around the shutoff valves in the vanity base and drain extension with a utility saw. Remove the wall fasteners that hold the bathroom vanity to your wall and cut away any dried bonding agent or caulking that might be securing it to your bathroom wall.

Take away the old cabinet by gently prying it away from the wall and you are finished with this stage of your bathroom vanity renovation. 

Read more: Framing a Built-in Cabinet for Your Bath

A New Ventilation System Can Make Your Bathroom More Comfortable and Attractive

The Size of Your Fan Does Matter

New ventilation whether replacing an old fan or newly installed can arguably contribute to the comfort and beauty of your bath decor. The great thing about replacing a bathroom fan during a home renovation is that it normally requires basic wiring.

The bad part is that it is the installation of the fan itself and the ventilation ducts that take up the most of your time and effort.

It should be noted here that before you run out and grab the biggest and best bathroom fan on the market, you should do a little homework first, especially if you are the thrifty type and would like to possibly save a buck since this seems to be a new trend.

Read more: All about Tub Faucets

Just because your mirrors stay foggy when your fan is on doesn’t necessarily mean that your fan is malfunctioning. Before you begin your bath remodeling project, the first thing you should check is your duck-work, poorly designed or clogged duck-work may actually be the source of the problem.

So unless your fan sounds like a jet engine or you have your heart set on the new-fangled envy of the bathroom world model, then do your due diligence before you make a purchase.

Less Bends Keeps Air Traveling Through Ducts

The general design rule of thumb when it comes to duct work is to plan for a vent duct that is short and wide as possible and has a minimal amount of turns to permit the free movement of air traveling through the vents.

Don’t use anything smaller than four inches in diameter or this will impede the air flow. If you can, install solid smooth ducting instead of plastic and wire ducting. While plastic and wire ducting may be easier to install, solid ducting is much more efficient, though it may be difficult to install in tight places.

Read more: Japanese Bathtubs: An Emerging Bath Trend

And remember that if your bath design plan includes a ceiling heater with your fan, it should be on a separate circuit because it uses a lot more power than a vent or ceiling light. Also the more product features you want to be able to control independently on the unit, the more complicated the necessary wiring will be in the end.

As with most bathroom accessories and fixtures these days there are many different sizes, styles, and colors of bathroom fans to coincide with your bath décor. When you are shopping for a bathroom fan you should be aware that fans are usually sold by the amount of air that they are able to circulate.

Just check the manufactures packaging to determine which size you will need to install in your bathroom. If are still unsure when choosing a fan, just ask a service rep at your local home improvement store or let you fingers do the walking on your home computer for a little internet search to find out the latest trends in washroom fan design.

Read more: Installing Under-Floor Electric Radiant Heat