
Convert an Antique Piece of Furniture into a Bathroom Vanity Masterpiece
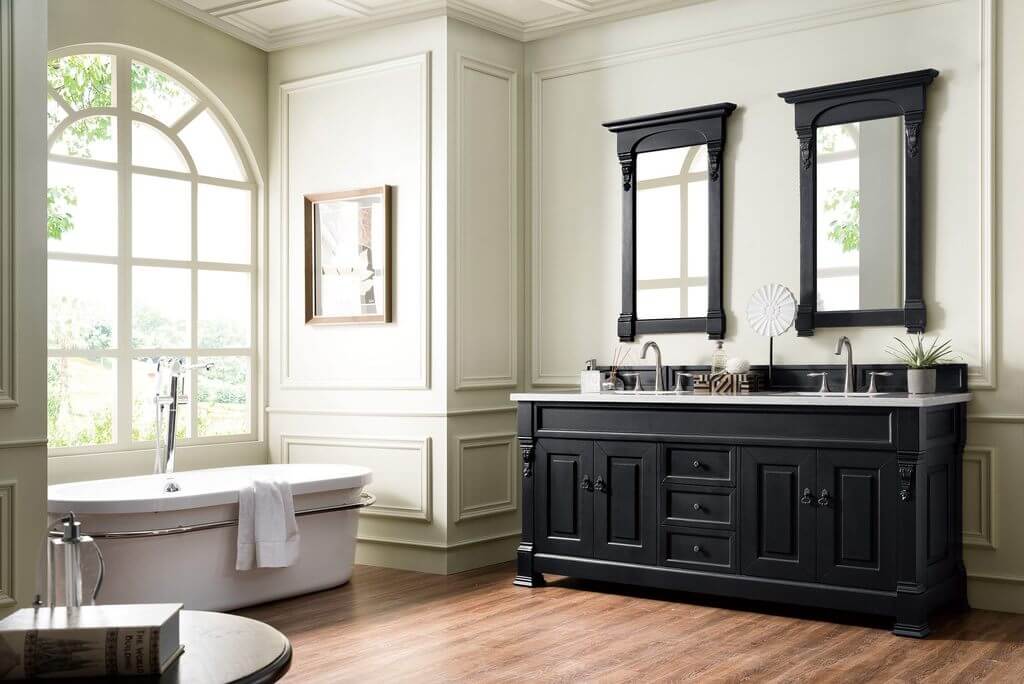
A piece of antique furniture is the perfect way to add a unique and personalized touch to your bathroom.
The first thing you will have to do is to select an appropriate piece of furniture. Just keep in mind that the sink bowl and plumbing will extend down into the interior of the furniture so make sure there is plenty of room inside.
Your next step is to create a custom made countertop template for your new vanity. You will have a lot less hassles if you take the time to create a template before you begin cutting away. Follow the old carpenters rule of measuring twice, cutting once. Each piece of furniture will be different, so it is important to create one specifically for the piece of furniture you are using.
To make a template, you will need to flip the vanity over and trace the top of the cabinet onto a large piece of paper. Add about a quarter of an inch to the outside edge to give you room to add detail. Be sure to include any details you wish to add onto the template, especially if there are any structural details that you want to add.
Read more: Burst Water Pipe Bathroom Temporary Repair
To allow for the vanity to slightly sit back from the wall for plumbing attachments, you will need to make your countertop about 3 inches deeper in the back. Be sure to include this on your template.
The sink should come with its own template. You will need to cut out the template and trace it onto your countertop template. The sink template will have two lines. The outside line shows the lip of the sink, and the inside line shows the shape and size of the hole that is needed for the sink.
Once you have traced the sink opening onto your template, cut out the sink opening. You can then place the new template directly on top of the wash stand. It is easier if you tape it in place and then trace the sink opening onto the antique.
Save up to 70% when you buy factory direct at ModernBathroom!
Now it is time to cut the hole for the sink. To start this part, you should begin with two starter holes. Use a jigsaw to start cutting very carefully, taking care not to cut any of the vanity’s structure below.
Now you should attach the drain fittings to the bottom of the sink. This will give you some idea on how much of the interior structure of the vanity will need to be removed to make it easier to attach all of the plumbing. It is much easier to install all of the plumbing fittings and fixtures before you install the sink.
Read more: How to fix a broken tile without replacing it
You can actually use 2 x 4’s to represent the thickness of the new countertop to do a test fit to help you determine where to create the opening for the drain to pass through the back of the vanity. You should make the drainpipe hole a little larger than the opening.
If your antique has a front drawer, you will need to modify it, so that the sink bowl and drainpipe can fit. All you need to do is cut out the shape of the sink bowl with a jigsaw.
Your new countertop will be three inches deeper than your vanity. You will need to attach two matching 3” wood strips to the rear edge of each side to make the washstand depth the same as the countertop. Use wood adhesive to attach and then clamp into place while it dries. As soon as it dries, attach long countersunk screws.
Read more: Bathroom Sinks – Are Lavatory Washbasins all Washed up?
The water supply lines need to be transferred to the back of the cabinet. Using L-brackets, attach the back of the cabinet to the wall.
Next, you will attach your countertop with special adhesive for your countertop material.
Install your sink by flipping the new sink over and putting a bead of sealant around the edge of the lip. Now, lower the sink into its place. The sealant should then be placed around the edge of the sink with your fingertip. Wipe away any excess material.
Now you have a unique one-of-a-kind vanity for your new bathroom.
Read more: Inexpensive Tile Design Through Faux Tile Effects