
How to Remove an Old Vanity in Your Washroom
Revitalizing the Look of Your Grooming Space
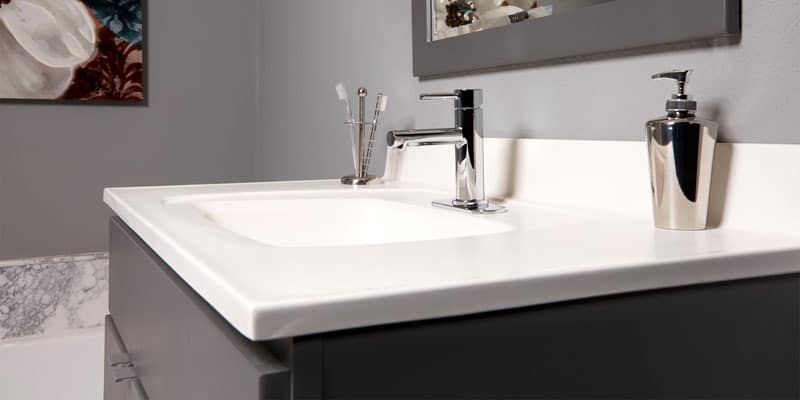
Just about everyone has a vanity in their bathroom. If you want to perform a simple alteration like tiling over the vanity counter top or if you are tentatively contemplating replacement, just for the record, it is usually best to totally remove your old vanity and replace it with a new one before proceeding with your bathroom make over.
Sure you can just replace the countertop and save on your renovation costs but if you want to completely refresh your bath design and integrate your vanity with your new energy-efficient fixtures, a full removal is probably best.
Read more: All about Tub Faucets
After all, on average it would only take you about an hour of your time, this of course will depend upon the size and complexity of your vanity but for the average renovator who has an average-sized bathroom, this is the norm.
The tools you need for this remodeling project are quite straightforward too. A cordless drill and bits, joint pliers, wrenches, a pry bar, utility & putty knife, and a hammer are all that you need.
The only stipulation is that you shut off the water supply to your bathroom before you begin to renovate. As to whether you want to remove the washbasin or leave it with the vanity is completely up to you, however, it should be noted that removing the sink will reduce the weight of the vanity when you are ready to take it out.
First things first, once the water is shut off, disconnect the water supply lines. On the sink, if you have a lift rod that controls the sink stopper, then this must be removed. First, pull off the clip and loosen the setscrew that fastens the strap to the shaft.
Then you must loosen the compression nuts on both supply lines and pull the supply lines out of the valves.
Read more: Japanese Bathtubs: An Emerging Bath Trend
Taking Out the Cabinet
Underneath the vanity, find the corner wedge or cleats that hold the cabinet to the countertop and unscrew this using your cordless drill or screwdriver, just make sure you don’t remove the screws that hold the corner blocks to the vanity cabinet frame.
Remove the sink and disconnect the supply lines and drain the pipes. More than likely there will be retaining screws and clips on the sink, these must be removed also.
To remove the vanity countertop, using your utility knife, you must score the joint connecting the backsplash and your bathroom wall to break the seal of the caulk or glue holding it in place remembering to keep the blade perfectly horizontal so as not to cut into the cabinet.
Read more: Installing Under-Floor Electric Radiant Heat
Remove any remaining trim around the countertop edge. Then using the leverage of a pry bar between the countertop and the bottom cabinet unit lift off the countertop but be careful, if it is too heavy, you may have to cut it in half using a reciprocating saw.
Once the countertop is removed, it is now a matter of enlarging the back- panel openings around the shutoff valves in the vanity base and drain extension with a utility saw. Remove the wall fasteners that hold the bathroom vanity to your wall and cut away any dried bonding agent or caulking that might be securing it to your bathroom wall.
Take away the old cabinet by gently prying it away from the wall and you are finished with this stage of your bathroom vanity renovation.
Read more: Framing a Built-in Cabinet for Your Bath