
Inexpensive Tile Design Through Faux Tile Effects to Enhance Your Bathroom Floor
If you are on a remodeling budget but you’re tired of the bleak appearance of your bathroom, you can creatively solve the problem through faux tile effects. Instead of going through the hassle and expense of installing commercial flooring, you can simply paint your wooden subfloors or concrete basement floor to enhance your bathrooms overall appeal?
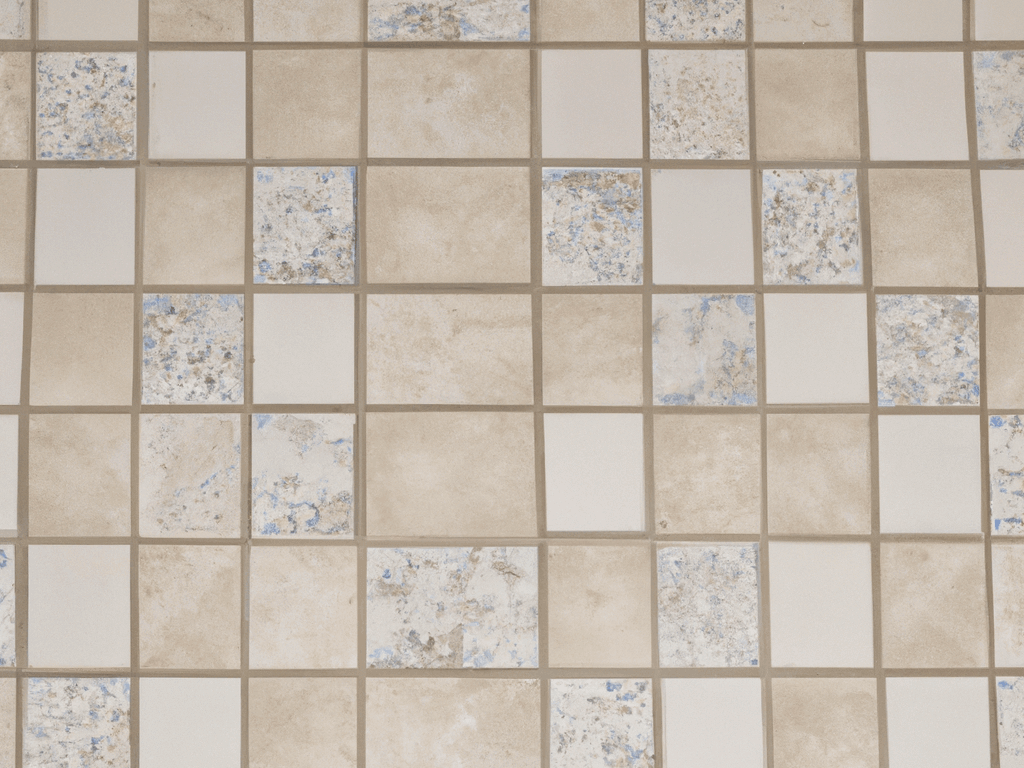
With a magnitude of different eye-catching designs, you can inexpensively paint your bathroom floor to mimic real flooring materials. The advantage to this is that it is far less expensive than installing the real thing but with intelligent planning, a visitor would be hard-pressed to tell whether the convincing impressions of your faux tiles are nothing more than a surreal looking finish.
Read more: How to Install Mosaic Tile in Your Bathroom
Commercially made floor paints are recommended for high travel areas but if money is a problem, then other paints can still be used as long as you apply a couple extra coats of varnish to protect the paint from too much wear and tear. It should also be mentioned here, that if you are using hardboard or chip board for your subfloor, you have to to be conscious that a number of brands may contain a fire retardant that is unsuited for painting. If you must know, the preeminent surface for creating faux tile effects is concrete because of its smoothness.
Any imperfections on your subfloor such as cracks or holes can be filled with all purpose filler, which you’ll have to sand down when dried to make a smooth ready surface. You can then seal the floor by using a commercial sealer. Plan your color scheme out ahead of time and use a complementary light colored paint for the first base coat to mimic the grout filling around the tiles. To make your job easier, use a roller (with or without an extension) rather than a brush to extend your reach and cover the area quickly then let it dry.
Read more: The Benefits of Marble Tile in Your Bathroom
How To Paint Faux Tile
You have the choice of creating your masterpiece freehand or you can measure out and draw a grid pattern on your bathroom floor to use as a guide. By means of a square object such as a sponge to absorb the paint, load the sponge template with the desired tile color and apply it firmly to the floor. If you are using a grid system try to stay within the confines of the grid outline you have created, just remember to leave gaps between the tiles to represent the grout.
A general rule of thumb is to create about eight to twenty tiles and then use a smaller piece of sponge to apply more paint to each faux tile. This gives the appearance of greater textural variation and increases the perception of depth to make your tiles seem more realistic. To create an even greater depth of field, you can also use marbling and sponging of a slightly darker or lighter hue of the same color to imitate a variety of different types of hard floor tiles.
Read more: Burst Water Pipe Bathroom Temporary Repair
A variation of the above method is to lay down a base coat, then create a large checkered board pattern on your floor. Tape down pieces of newspaper or cardboard in an alternating checkered pattern and spray paint another color over the uncovered squares. Let the paint dry and then remove the protective coverings to reveal a realistic picturesque faux checkered tile pattern.
Finish up with a few protective coats of varnish to seal in your design. Remember to let the varnish dry between each coat and you will have created a trendy new faux tile bathroom floor. This is an easy and creative way to save on your next bathroom remodeling project. Enjoy the fruits of your labor.